Tutorial: Makeup for college girls
College is a time to just enjoy yourself. Meet as many people as you can, excel in your interests (academic or extra-curricular), and just have smashing fun! While doing all that, keep your face clean everyday with skincare that suits your skin's needs, and wear minimal, enhancing makeup that can keep up with your busy lifestyle.

How? Ta dah, I made a tutorial! I took into consideration the late nights a college gal would spend on reports (and/or parties teehee), the sun exposure while rushing to classes, and the occasional zits that may pop up. This is also a quick routine with only one basic brush required and fairly affordable product recommendations. Ready? Here goes!
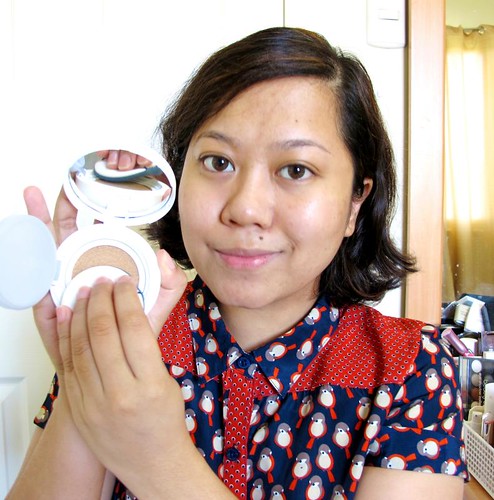
Step 1: Wear makeup that offers some SPF protection, or wear an SPF cream before your foundation of choice. This is a must! Sun damage can show as early as your 20s so protect your skin ASAP. Here I used the Laneige Snow BB Cream with SPF50 because it's in a handy compact. You can also use the traditional liquid BB cream (try the ones from Etude House and Tony Moly!)
BB creams can be a hit and miss with shade availability, so get something close to your skin tone. If it has SPF, expect a white cast in photos. It shouldn't matter so much though because you're just off to school and sun protection is much more important.

This Laneige BB cream is kinda expensive at P1,900ish but you get a free refill and it is convenient since it's in a compact - great for retouching!
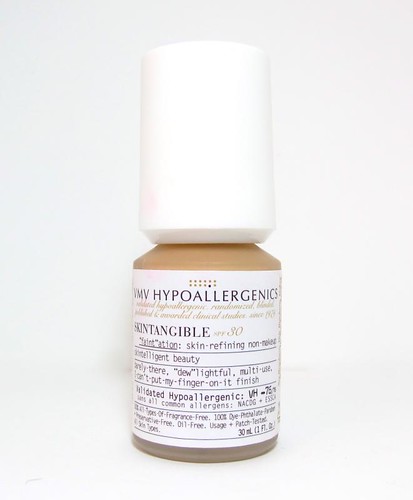
VMV Hypoallergenics Skintangible SPF30 for normal skin
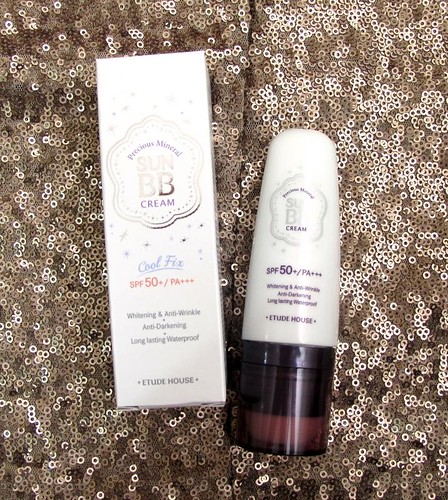
Etude House Precious Mineral Sun BB Cream for oily skin

Step 2: If you have drying zits, cover 'em up with an opaque, long-lasting concealer such as the Artdeco Camouflage Cream Concealer. It's only P500 so very reasonable for students on a budget! Use your finger to warm up the concealer and gently pat it on the offending blemish.
If you have fresh pimples, it's best to leave them alone until they're about to try. Dose them with salicylic acid of choice - these are available in drugstores. I like that roll-on tube from Garnier (I forget the name). I get my acne treatment from House of Obagi.

Step 3: Illuminate. Use a sheer liquid luminizer like the MeMeMe Beat the Blues on your eye bags, brow bones (to enhance your brow arch and to bring up your face), and cheekbones. Blend it out with your finger. To keep your skin from looking overly shiny, you can tone it down with a bit of pressed powder.

I like this step because it makes your skin look fresh (a must if you just came from a cramming marathon) and lightens up your eyebags without the "overdone" finish. If you have really dark eyebags though you should blend the luminizer with some concealer and gently pat it on your dark circles.

Purchase MeMeMe from Makeupholics

Step 4: Set everything with pressed powder. Concentrate on your t-zone to keep the oilies at bay longer. Don't forget to also powder the areas where you applied cream concealer so that it won't slip and melt! Keep your compact handy for blotting out shine during the day.
I like the Myra pressed powder (only P130), the Majolica Majorca Pressed Pore Cover Powder, and the Etude House Precious Mineral Sun BB Pact (which I am using here). It's great because it also has SPF50!

This Majo powder is great for slightly smoothing out pores


Step 5: Shade your eyebrows and keep them in place with a brow mascara. This is quicker and more natural compared to powder. Just brush up, cover up gaps, and position your brow hairs nicely. I'm using the MeMeMe Arch Angel here. Try also the Majolica Majorca Brow and Lash Colorist in BR555 (if you have dyed hair).

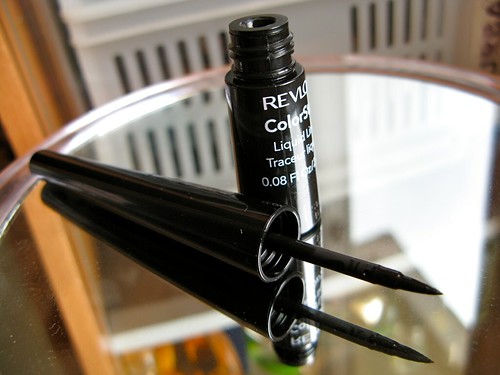
Step 6: A liquid eyeliner is a great way to define your eyes. It's least likely to smudge out of all the eyliner formulas out there! A thin line just grazing over your lash line is enough, but you can also go for a thicker, extended line if that's your style. ;)

I'm using the Dollywink Eyeliner here, but I also love the K-Palette Real Lasting Eyeliner. Revlon makes also makes a nice one called the Liquid Liner in Blackest Black.

Step 7: Open up your eyes by curling your lashes. You can stop there for a natural look, but you can also wear a clean finish mascara just to thicken those lashes.

Step 8: Do you know what gives tired eyes away? A red rimmed waterline! Make your eyes look bigger, fresher, and more awake by applying white eyeliner on your waterline. Choose something that has a decent staying power, such as the Master Liner 24-Hr Cream Pencil in WH-1 (P359).

Pull down your lower lids gently and apply the white eyeliner inside

Step 9: Blush for a fresher complexion! I like the In2It Waterproof Blush Set in Romance for a natural, healthy flush that stays put.

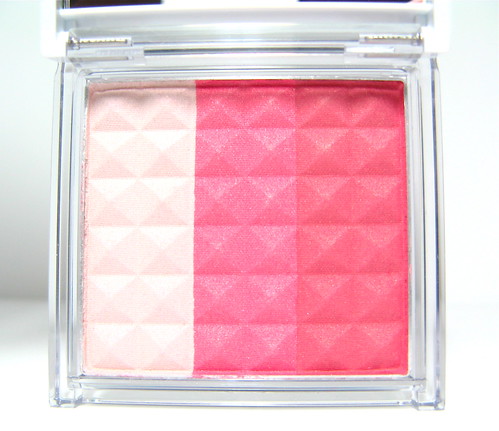

Apply color on the apples of your cheeks then blend towards the hair line
Step 10: Every college girl needs a tinted lip balm. Something that gives just the right amount of color, gloss, and moisture. I highly recommend the Lip Ice Sheer Color balm - awesome stuff, and so cheap too!


So there you go! Quick, fresh, light, and young - the perfect look for college girls. :) Hope this was useful!

