Tutorial: the No Makeup Makeup Look
The "no makeup" makeup is a look that enhances your skin and features in a way so subtle that it's almost invisible. Your skin is just supposed to look healthier and glowing; your eyes, defined but without any obvious lines. This is the look where your natural beauty takes the spotlight - with a little bit of help, of course!

Now there are dozens of ways to do the no makeup makeup. The common denominator is the focus on skin that looks like skin, which means that you should avoid matte face makeup. The goal is to even out the skin and conceal blemishes and dark areas strictly as needed. Brows are also meant to be soft while the lips and cheeks just slightly tinted or colored with an MLBB lipstick.
Wanna see how I do it? Let's get crackin'!
l
Step 1: Use a brightening tinted moisturizer with a light coverage. I am currently loving the VMV Hypoallergenics Skintangible SPF30. It has barely any coverage but it evens out my skintone wonderfully. It's illuminating, too.
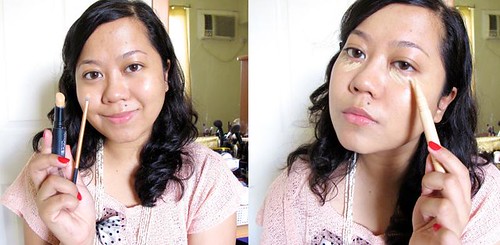
Step 2: Conceal only where needed. Cover up blemishes one by one with a tiny concealer brush, then blend. As for eye bags, avoid matte and heavy concealers. Instead, opt for a light-reflecting concealer such as the Clinique Airbrush Concealer. Love this stuff!
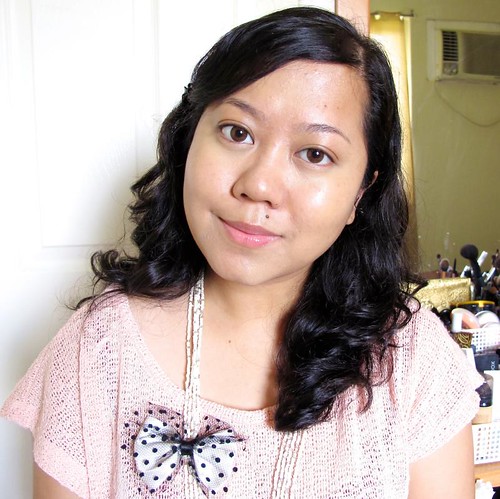
My face looks shiny but you'll notice that it's a lot brighter from when I started. Shine, my dears, is not the enemy!

Step 3: Highlight the highest planes of your face. This is an optional step but I like to do it to bring out specific areas. I highlight on my cheekbones, brow bones, bridge of the nose, and philtrum (bow of the lips). Don't forget to blend that out with your fingers or a sythetic brush to create a soft focus glow.
My fave highlighter would have to be the Benefit Watt's Up! Highlighter, but any shimmery champagne eyeshadow/powder will do for highlighting. :

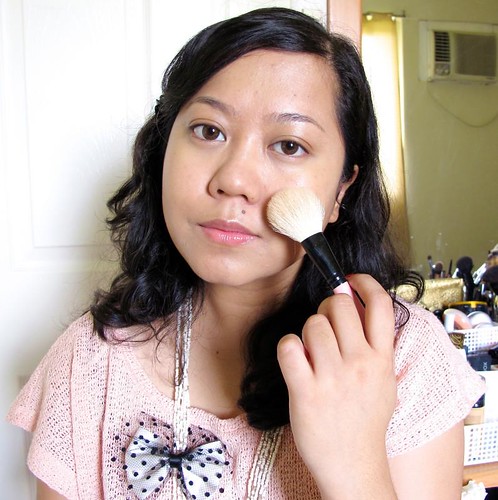
Step 4: Set your t-zone with a translucent powder. This is to make sure that your makeup stays on when you get oily or sweaty, but there's almost no coverage so it still looks invisible. I'm using the Palgantong Theatrical Powder here.

Step 5: Shade your eyebrows with a pencil/powder that's one shade lighter than your hair. The goal is to get soft-looking, unmade brows that are nonetheless shaped neatly - meaning no gaps, but no obvious lines either. I'm using the Shu Uemura Hard Formula brow pencil in 09 Walnut Brown. It's slightly lighter than my hair, but really you can also use a shade that's the exact color of your hair as long as you just put on a light layer.

Step 6: Curl your lashes! You can actually skip mascara if you're using a super good lash curler like the Shu Uemura Eyelash Curler - this gadget keeps lashes curled all day.

Seee?

Step 7: But I do like drama, so I add mascara. :) Choose a mascara that doesn't look goopy or volumize too much. Lengthening is the name of the game here. Lashes should look like hair, not super black spider legs. The Max Factor False Lash Effect Mascara is perfect for this purpose. Prepare to be amazed!

Ta-dah! I love this mascara because lashes look thick at the base but thin and pointed at the tips.

Step 8: Contour your eyes. Again this is optional but if you have time, do add a bit of depth to your eye sockets. This makes for deeper-looking eyes, which is always a good thing. ;) A matte eyeshadow that's just slightly darker than your skin is the best contouring shadow for this purpose. I'm using a color from the Wet n' Wild Color Icon Eyeshadow Palette in Vanity (it's a close dupe of MAC Wedge, which is my fave contouring eyeshadow.)


Step 9: Blush! Choose a color that's close to the color of your face when you're flushed. If you're morena, that would be a plummy or reddish color. If you're fair, that should be pinkish. If you're medium, it should be peach-coral. Or you can just use a sort of sheer glowy blush that will adjust to the natural color of your skin such as the NARS Orgasm or the Milani Illuminating Face Powder in Beauty's Touch (which I am using here). It adds just the right touch of barely-there pink to my cheeks!

Step 10: Contour! You can choose to skip this if you wish but contouring is always useful especially if you have a wide or chubby face (like mine). I like using a matte, sort of tan shade like the MAC blush in Harmony. Apply contour from your ears, going down to stop under the center of your eyes. Just follow the line that connects your lips to your eyes. (Hope that makes sense). I also like to contour at the temples and jawline. Remember, there should be no visible lines!

Soft and warm, just the way I like it
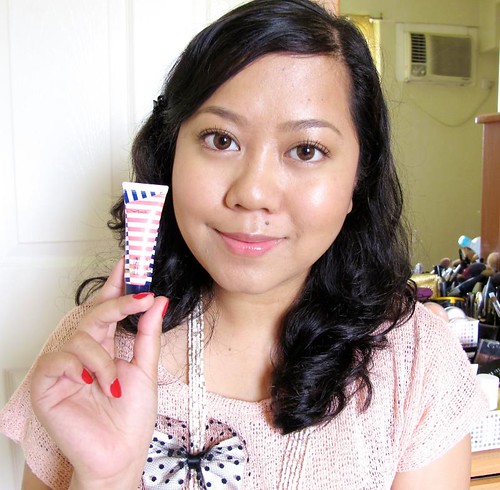
Step 11: Apply a lip color that looks like your lips but better. Gosh, there are so many ways to go about this. If you have even-toned, pigmented lips, just enhance them with a slightly tinted lip balm like the MAC Suntints SPF20 Liquid Lip Balm in Au Rosé (which I have on here). If you have uneven lips, opt for a satiny lipstick that's the exact color of your lips. If your lips are dark at the edges, you can cover them with a nude lip liner, then apply lipstick afterwards.

I'm using the Revlon Colorburst Lip Butter in Pink Truffle here. It's a bit deeper than my actual lip color, so I should have blotted it. But I hope you get the idea!
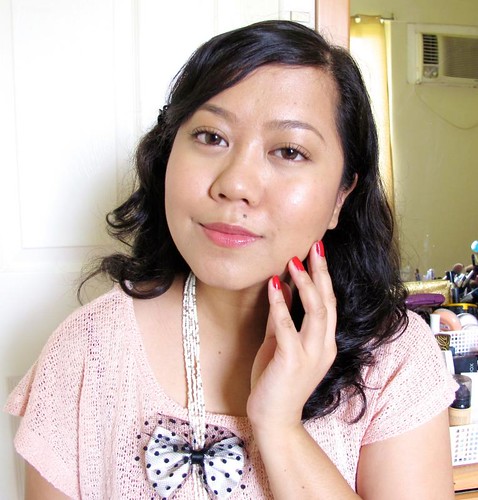
So there you go! That's my no makeup makeup look. :P I love wearing this to, well, anywhere. It's quick, easy, and versatile. It's especially useful if you're going to somewhere where you need to be likeable. Okay let me explain. Women who wear a lot makeup can be intimidating. People close down when interacting with them because they look, well, too strong. Angas or fierce is the word. Now there's a place to look fierce and notieceable, but there are also situations where you need to look soft, nice, and more importantly - likeable. This is where a no makeup makeup is indispensable. :)
Hope this helps! Let me know if you have questions.


