How I save over P700 monthly with DIY facial hair grooming
I have a confession to make: I look forward to all sorts of hair grooming sessions. Brow threading dates, waxing appointments, diode laser hair removal sessions – these to me are precious me-time, self care activities. When I started tracking my expenses though, I realized just how costly these services were! So while I can’t do the latter two by myself, facial hair grooming seemed a good DIY candidate to help me save a few bucks.
It took some practice and a few eyebrow horror stories but I’d like to believe I’ve finally mastered the art of DIY facial hair grooming. The last time I had my brows professionally done was more than six months ago! If you're looking for ways to cut down on your beauty spending, doing (some) of your own hair removal can help ease the strain on your wallet.
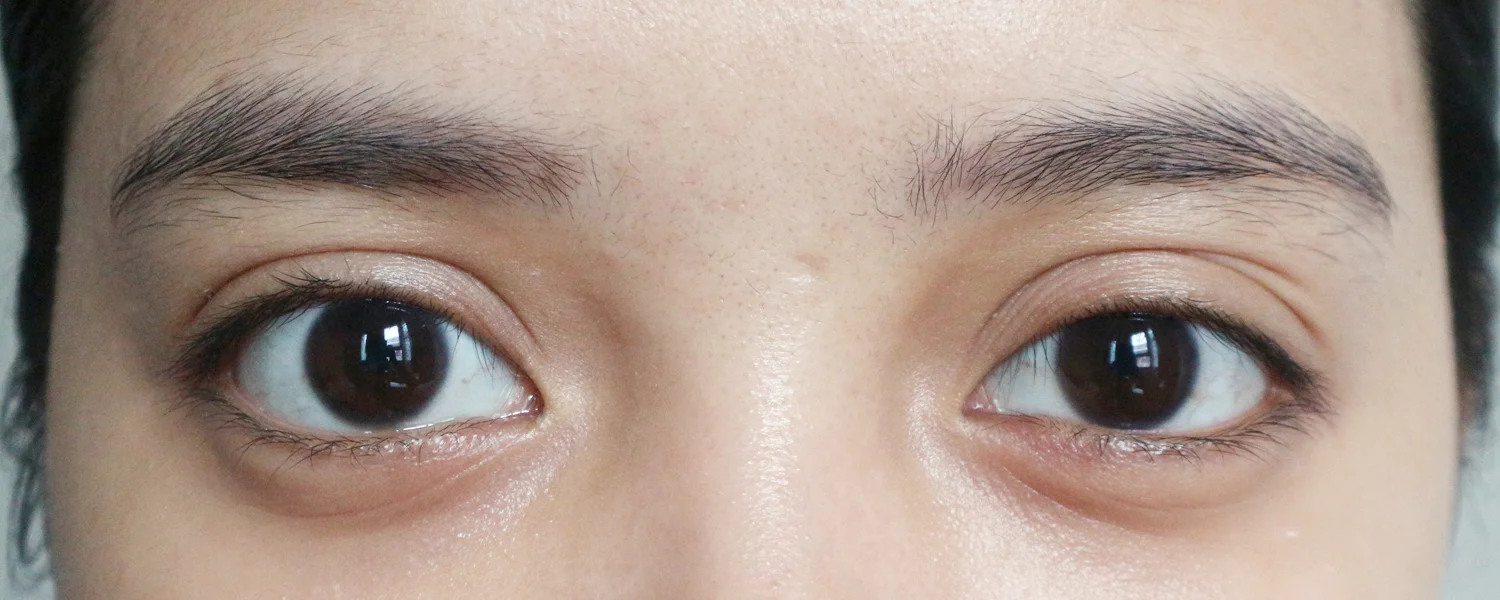
What a difference a well-groomed brow makes! Bare, just-cleaned brows on the left and month-old ungroomed brows on the right
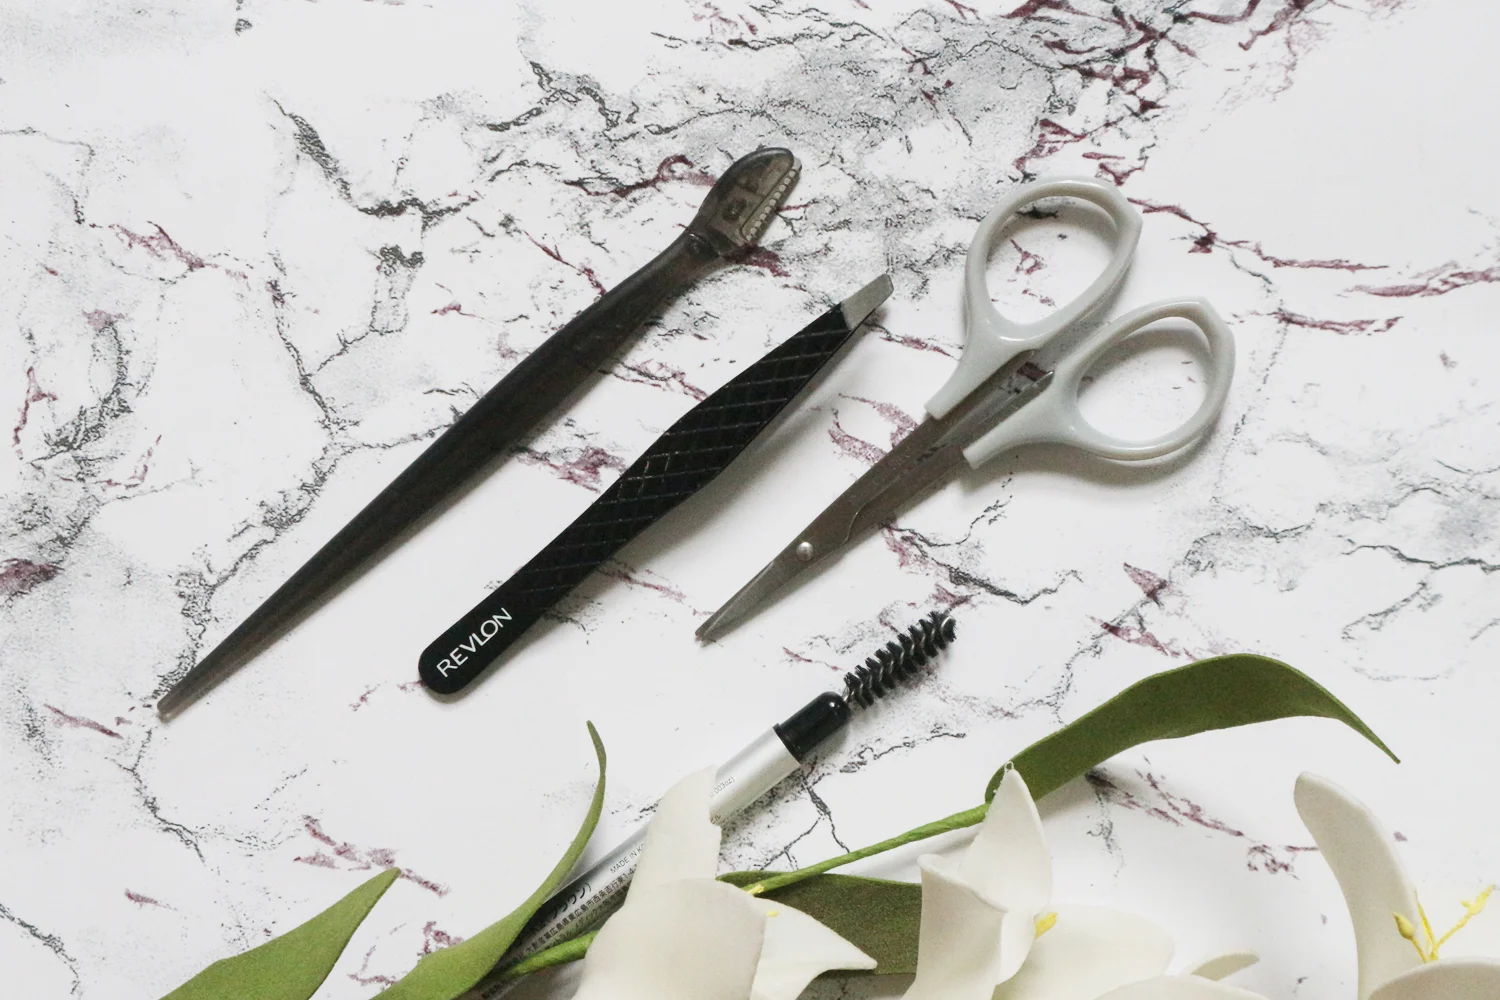
The good news is it doesn’t take much to get started. With a capital of just P200 (or maybe even less), you can practically keep doing your own brow grooming forever! You’ll just need these tools of the trade which you can easily source on a quick trip to Watsons.
Brow razor
Tweezers
Grooming scissors
Spoolie
Cotton pads for cleanup (not in picture)
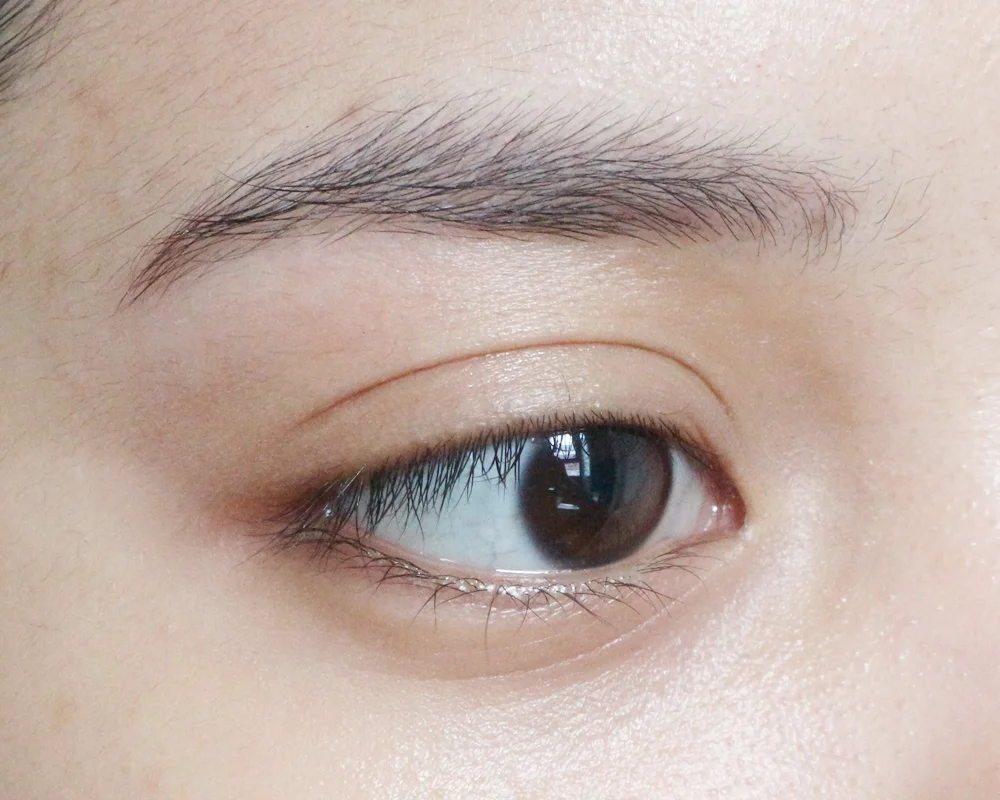
Step 1: Tweeze
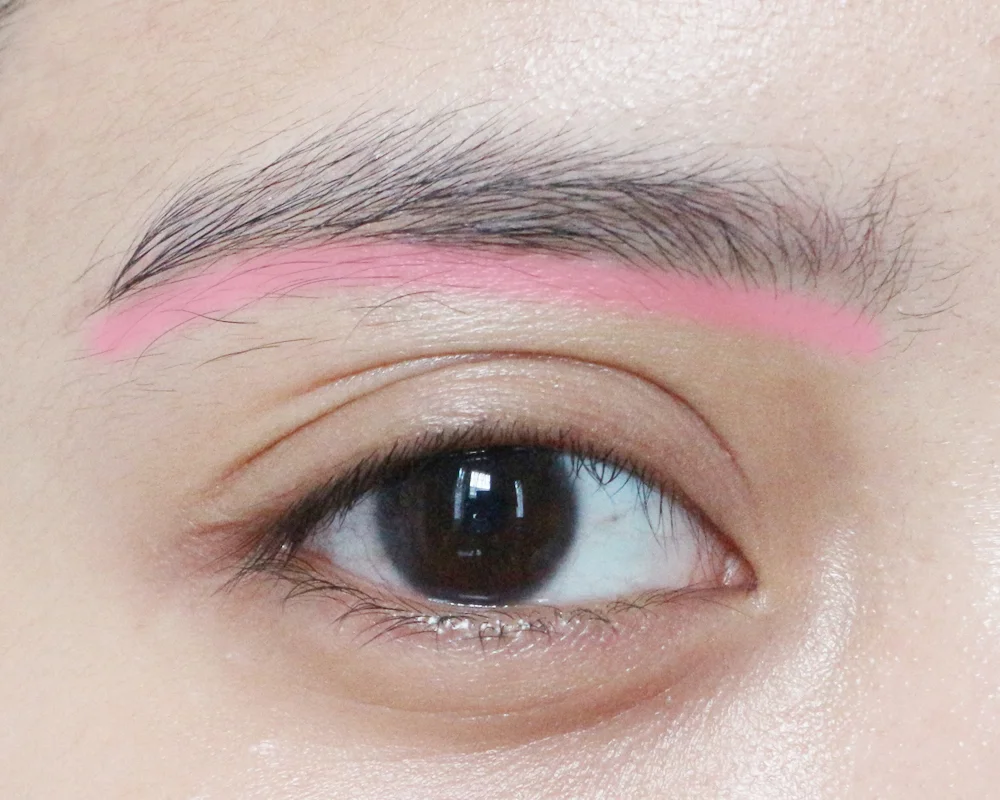
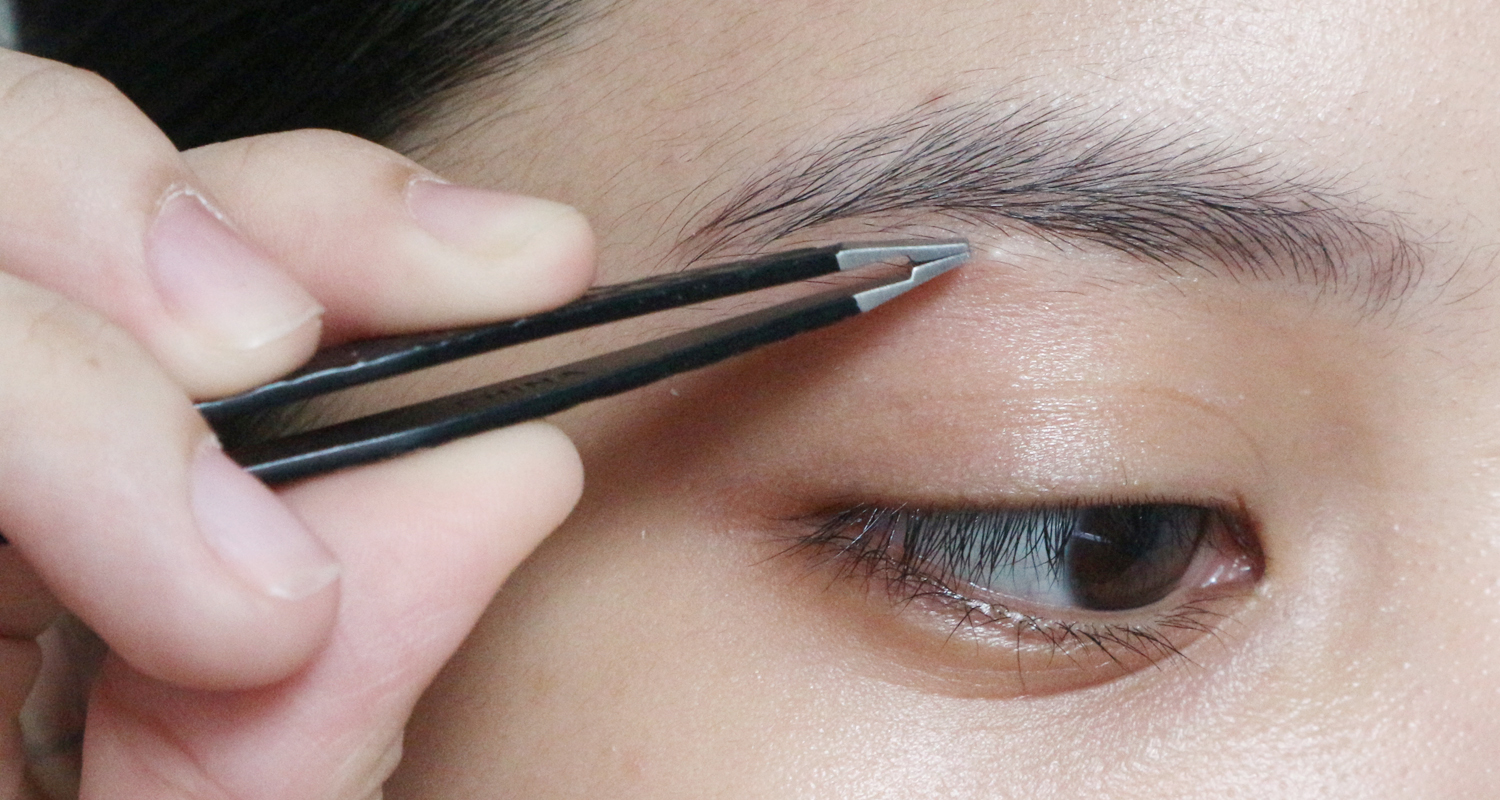
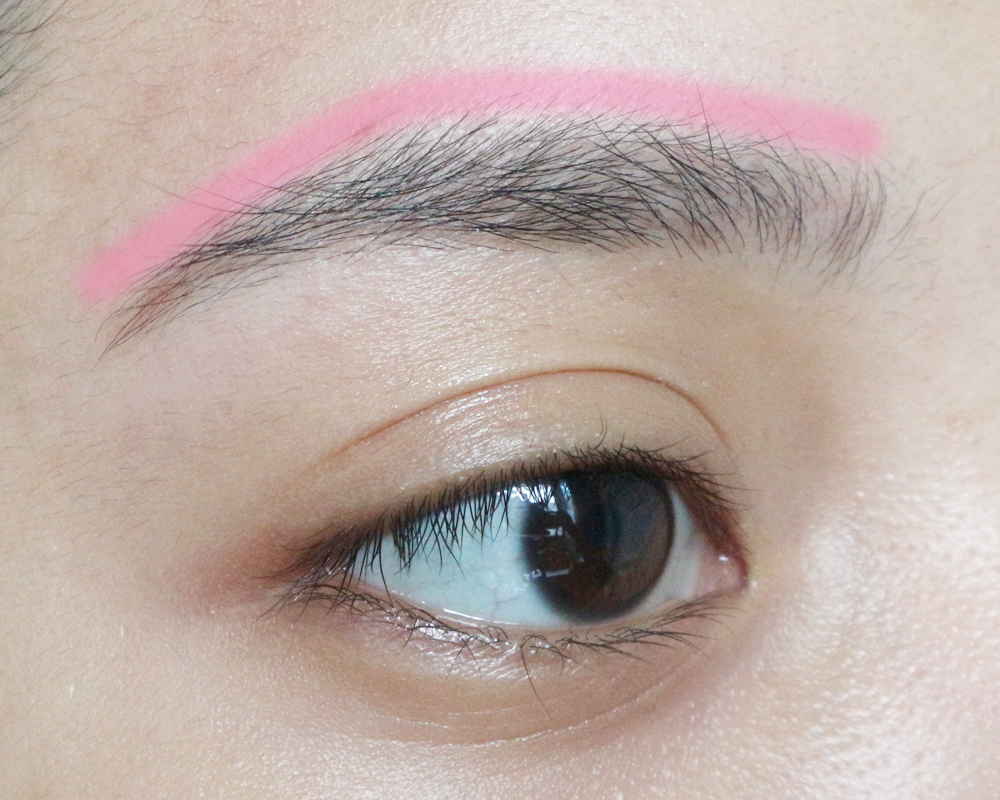
Draw an imaginary line to determine the base of your eyebrows. If you’re not as practiced, you can draw an actual outline of your brows with an eyebrow pencil. Tweeze every hair growing under that line. If there are several "rows" of hair, clean the area one row at a time to keep from over-tweezing and ending up with too-skinny brows.
Step 2: Shave
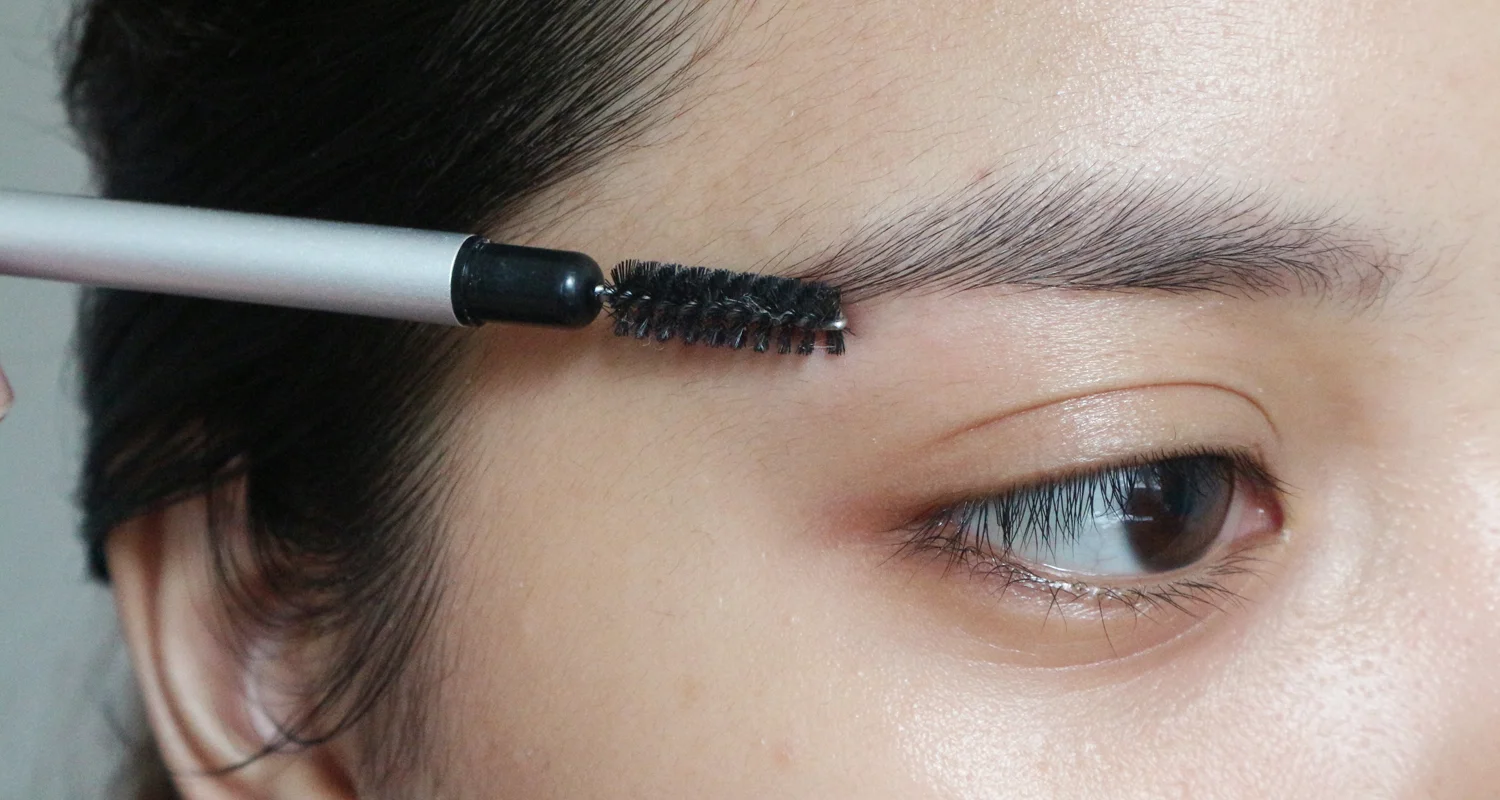
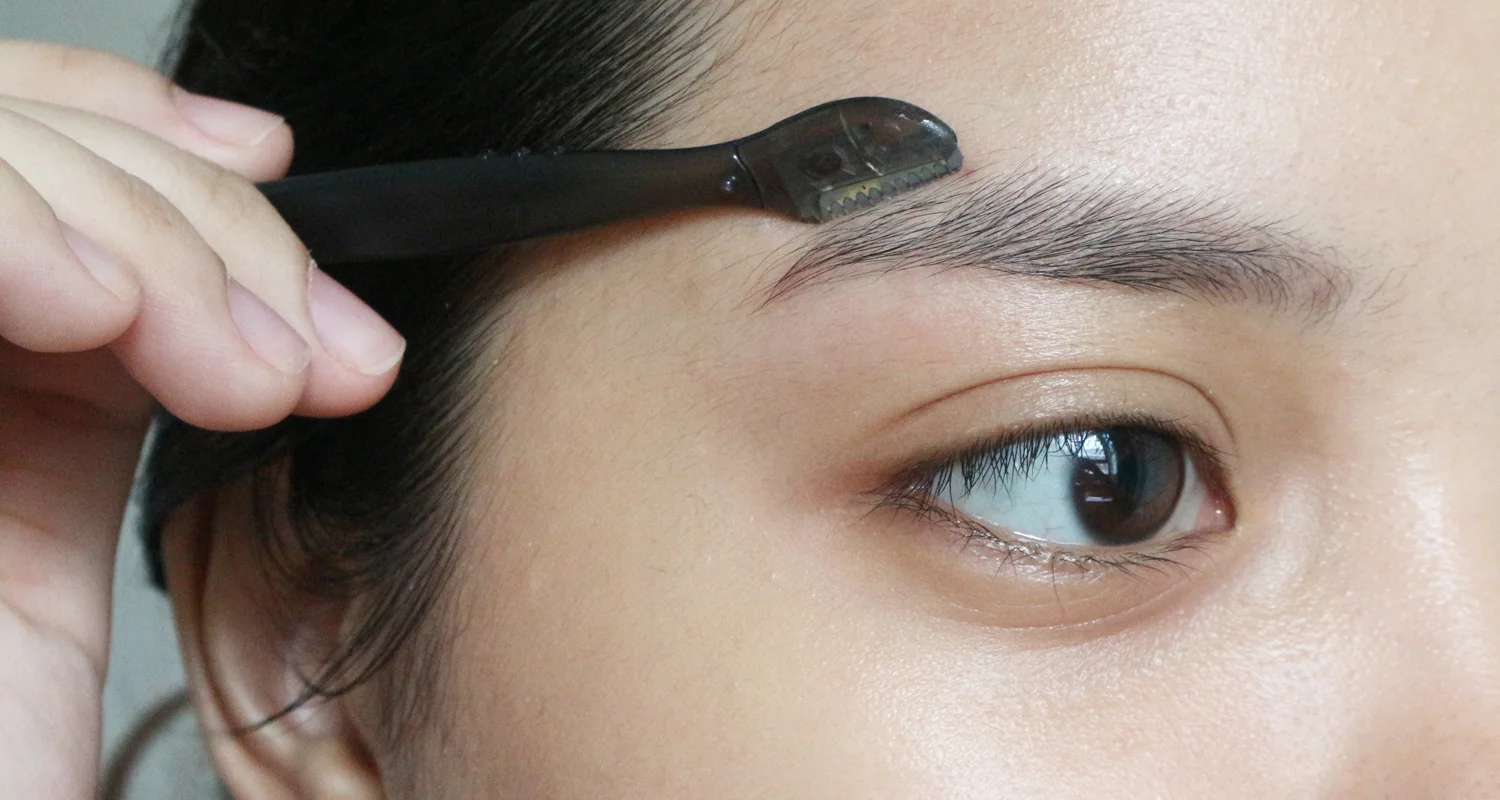
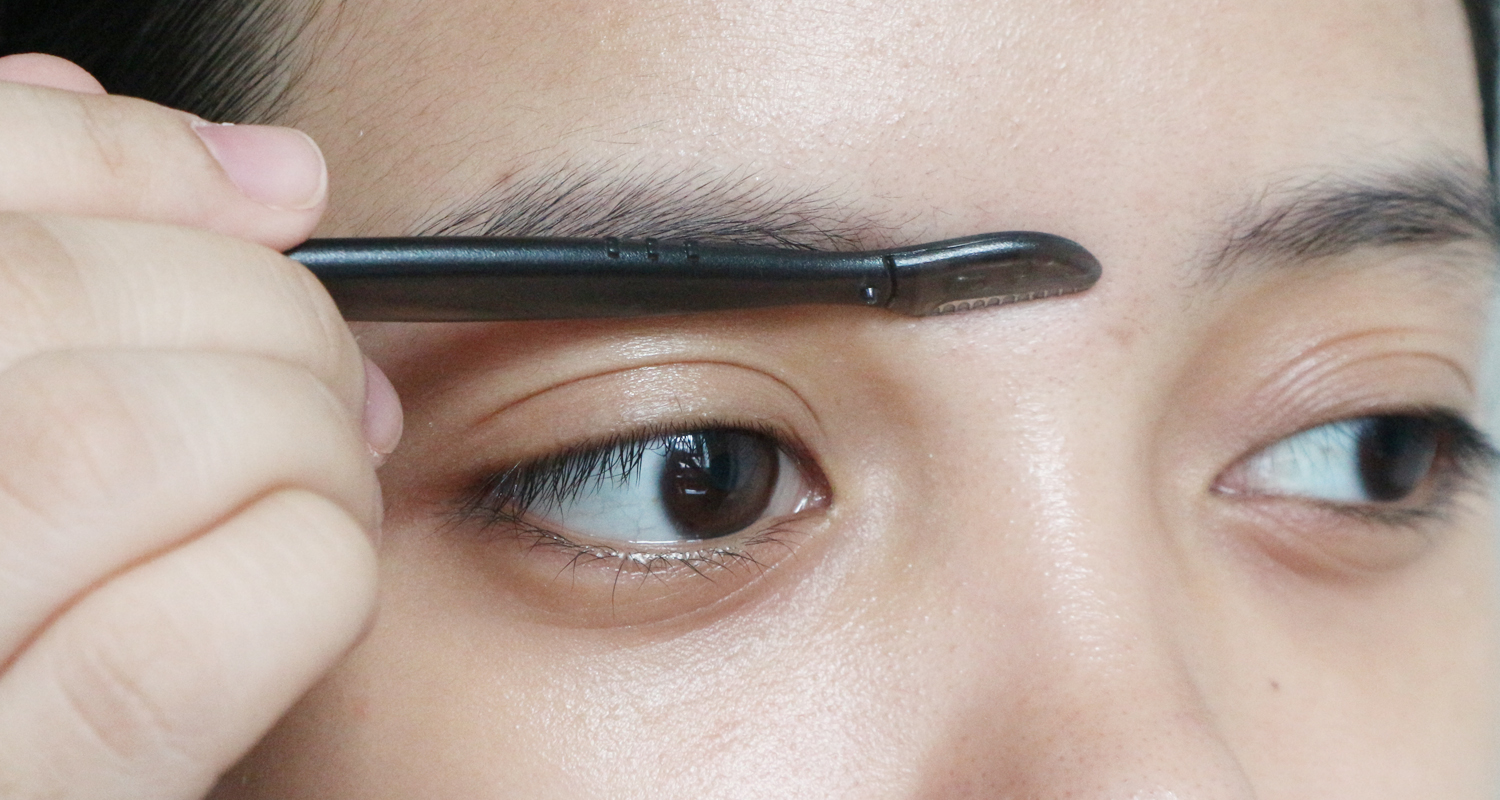
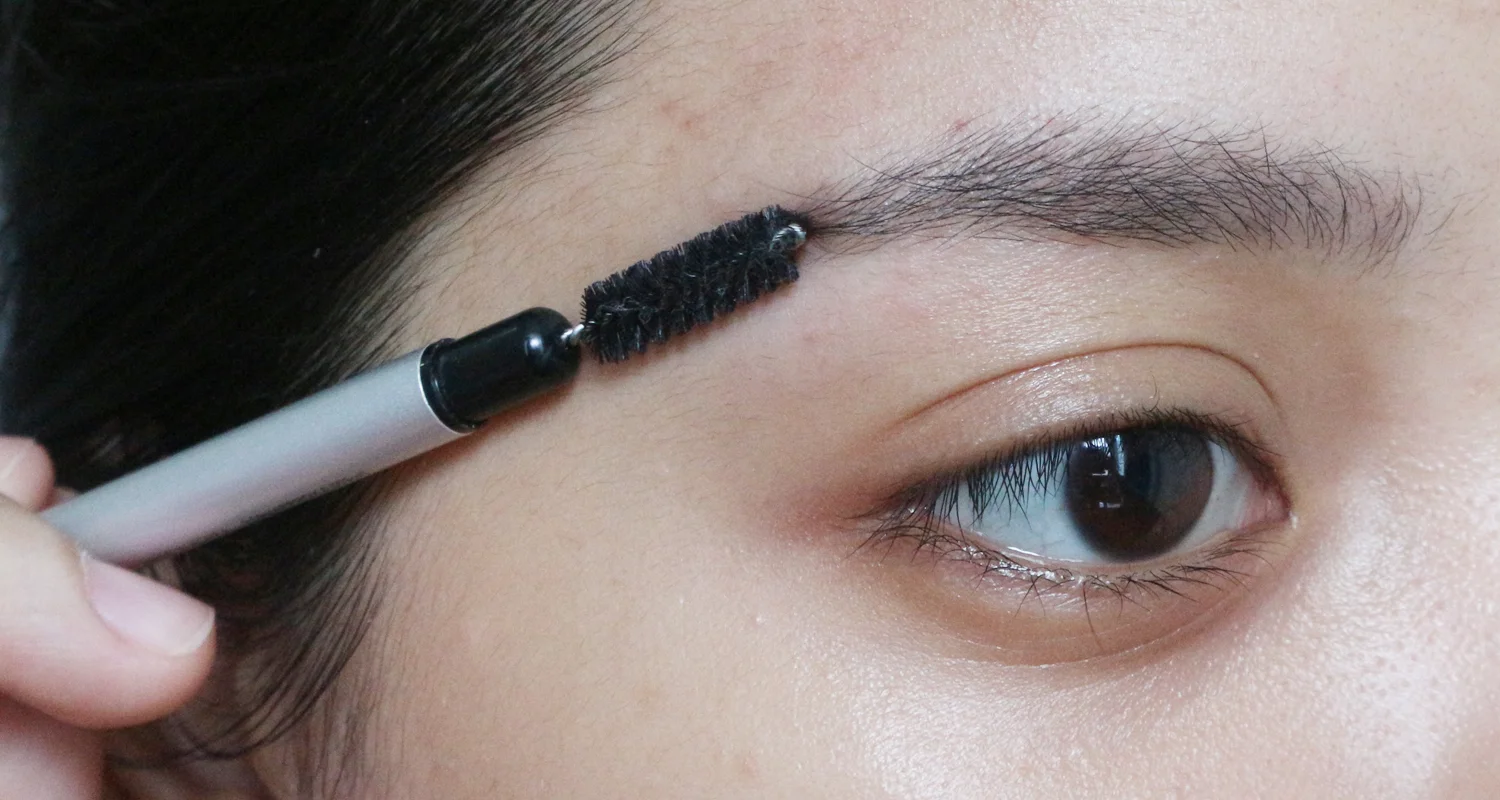
With a clean spoolie, brush all of your brow hair downwards. Use a brow razor to shave away stray hairs and define the arch of your brow. I find that it helps to go once along the growth of the hair, and another pass against. Don’t forget to tidy the space along the nose bridge and in between your brows for a cleaner look!
In between each go, make sure to wipe the hair off your razor with a cotton pad so you get a nice, even shave. Try to not to pass over the same area more than 3 times to avoid irritating the skin; if you find yourself needing to do so, you may need to replace your razor with a sharp, new blade.
Step 3: Trim
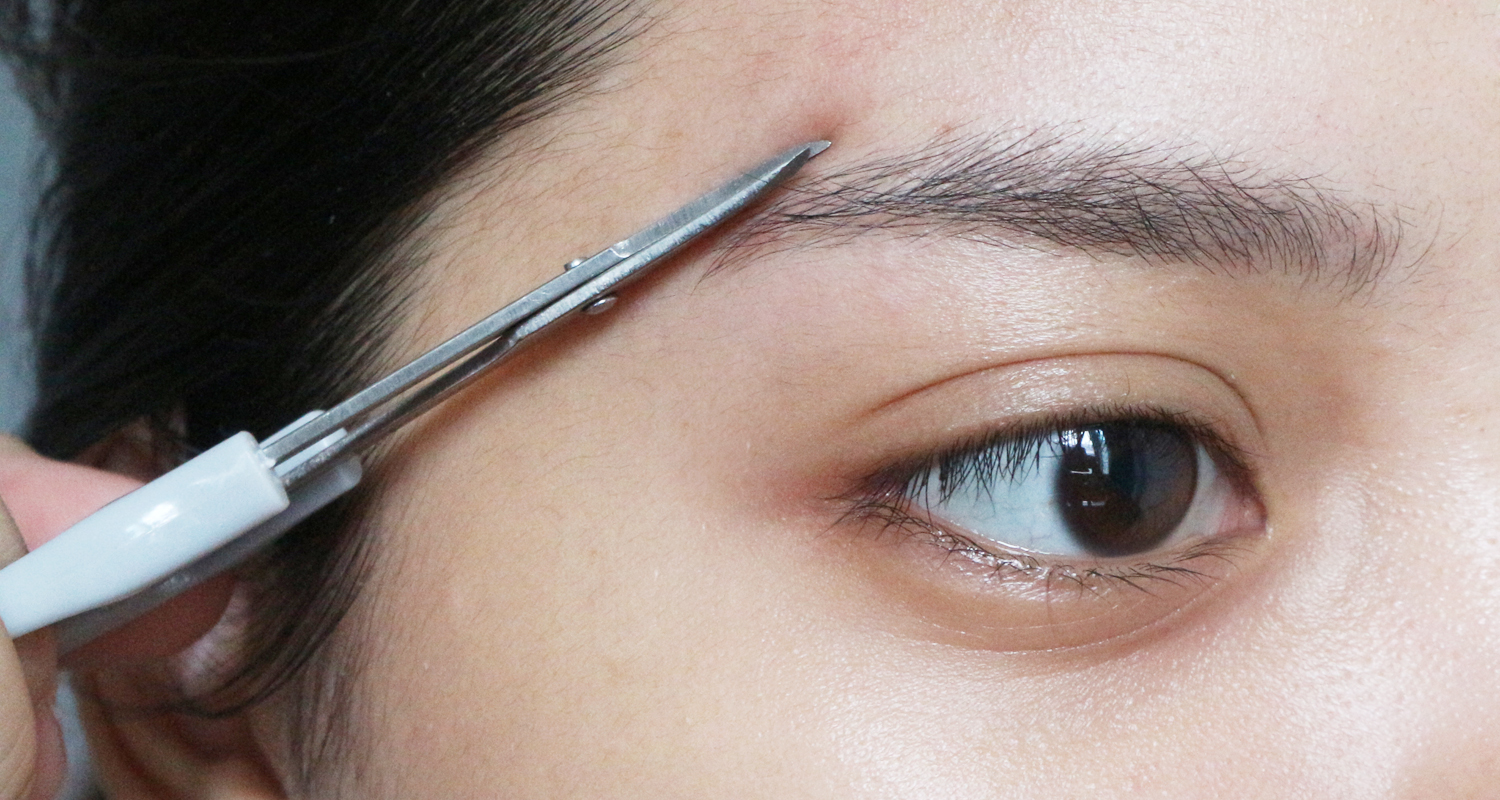
This step makes all the difference IMO! Trimming the brow hairs to the proper length ensures that longer strands don’t go outside of your brow’s borders (browders?), making them look messy in the process. Simply brush up all your hair up and out with a spoolie, then use grooming scissors to snip away at anything that exceeds the outline.
Make sure to brush up and not down, and only trim above your brows lest you leave bald patches by going the other way! When done correctly, trimming gives the brows a defined look even on no makeup days.
Tweeze – Shave – Trim. Just follow these three steps, and you can save a lot on those brow salon visits!
If your femstache needs a little help, too, this facial hair remover from Watsons is a time- and money-saver. Position the hair remover in an inverted U-bend, where the hairs are as in position 1. Using both hands to hold each side of the tool, simply twist up and out to get to 2 and 3!
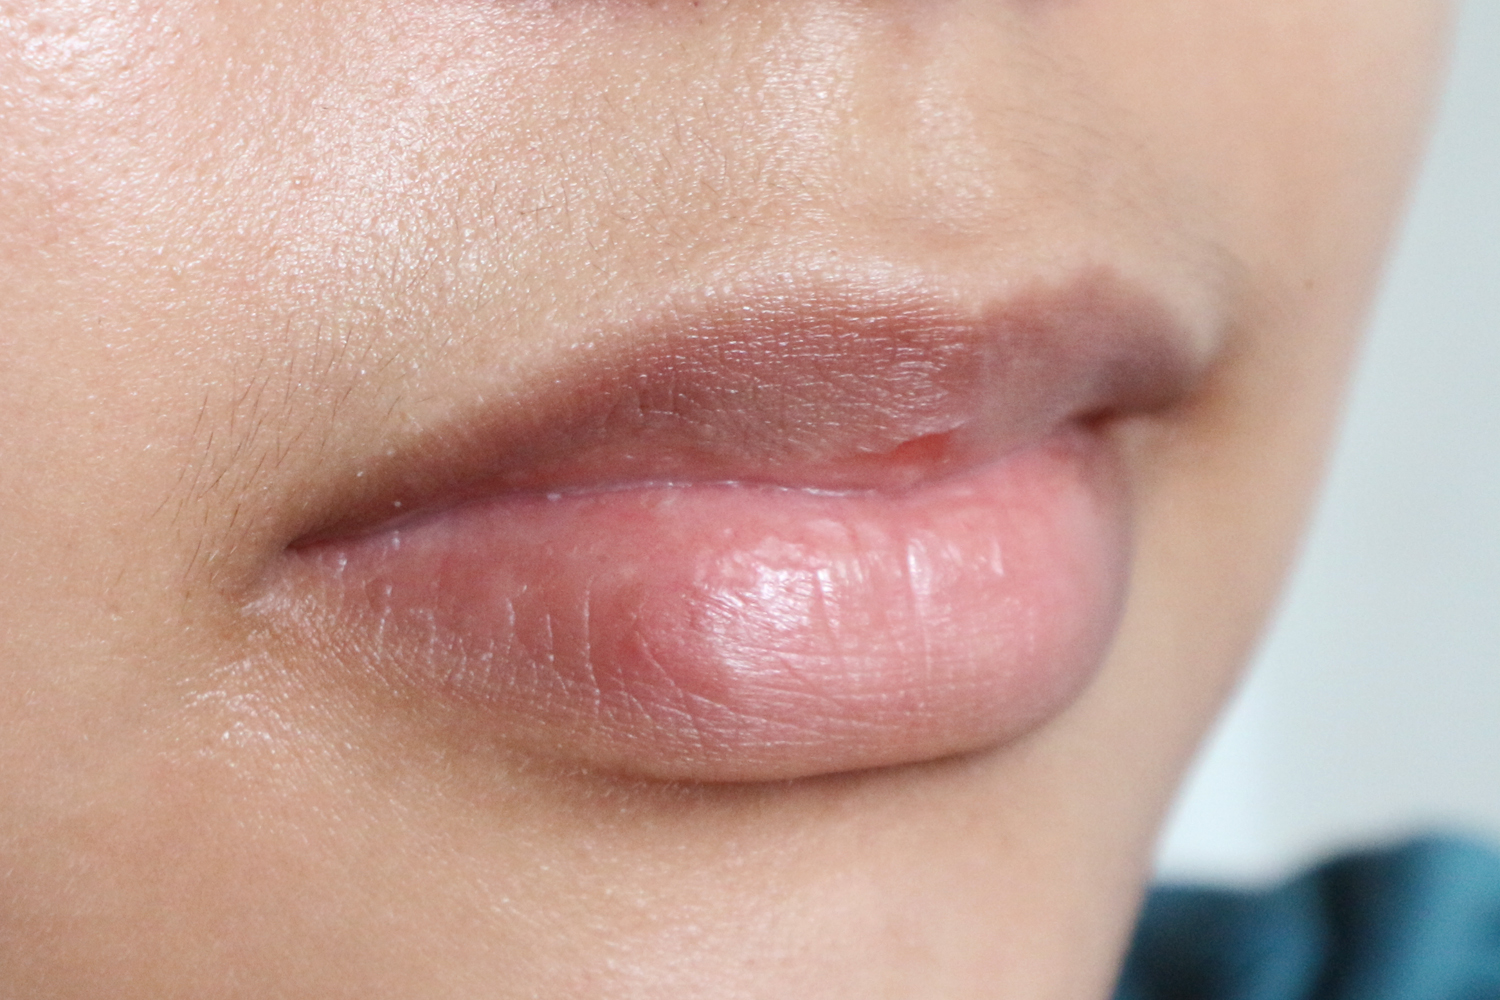
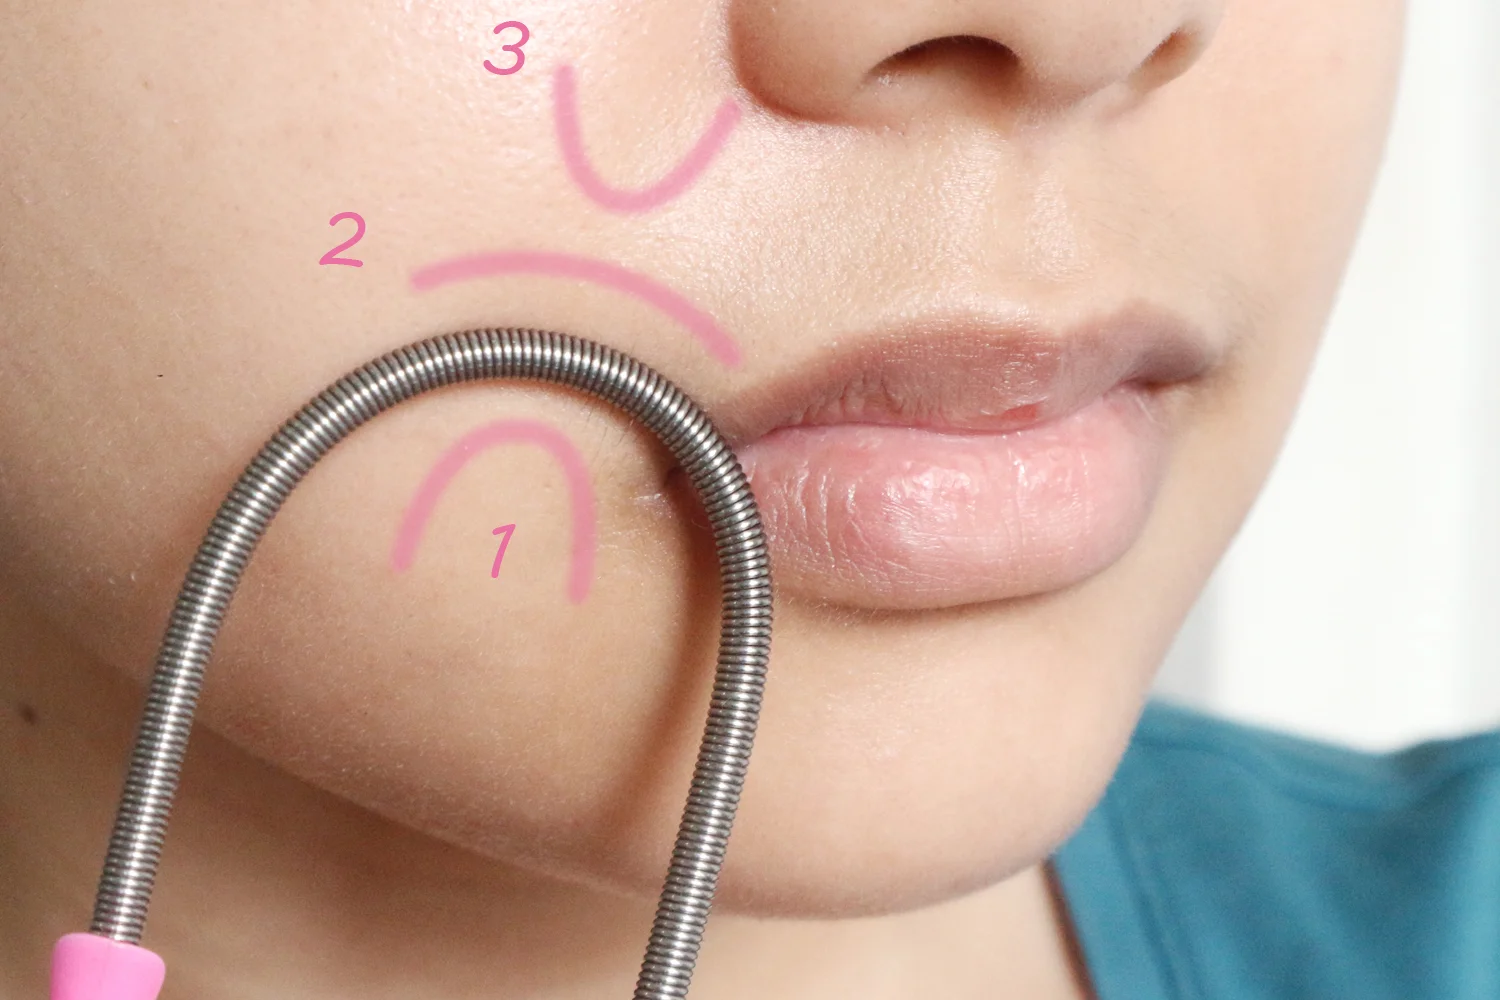
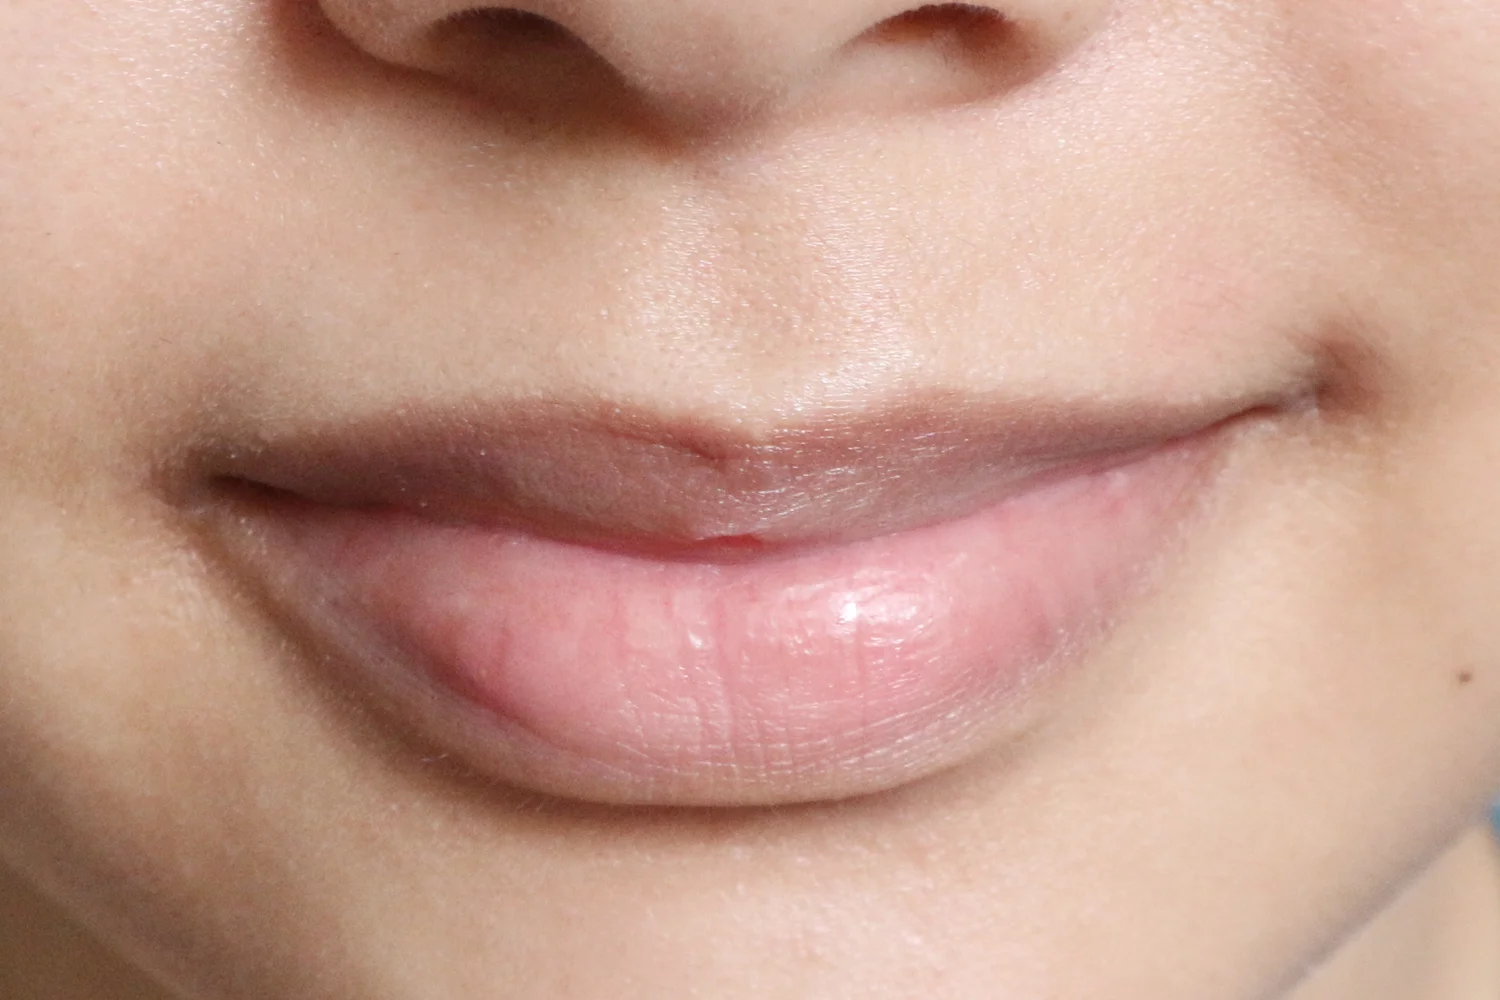
If you’re not used to facial hair threading, the resulting sting might take some getting used to. The results are quick and worth it though, and it no longer hurts as much as when I first started.
Getting your eyebrows and upper lip done by a professional is a nice treat but if you're a broke-ass beauty girl, they’re perfectly doable at home. I would still recommend getting them done by a professional both for beginners grooming their brows for the first time, and as a yearly shape-up treatment to ensure proper hair growth. The PV girls are big fans of the Brow Reconstruction or basic shaping service from Browhaus (P698), and they also offer upper lip threading (P248). The P946 saved monthly can then be diverted to other beauty expenses, like checking off some items on your wishlist!
Have you tried grooming your own eyebrows before? Do you remove your upper lip hair? Let us know if you have any other tips!


