Casual nauticals
I had a grand time yesterday accompanying Kirby (Asian Secrets grand winner) to her makeover as well as hanging out with the Estee Lauder girls. Thanks so much for the company! Anyhoo, I decided on a super laid-back outfit for the day since I knew I would be waiting and walking around most of the time.

Muji shirt/ Levi's ID Curve jeans/ Ferretti flats/ NaRaYa bag/ SM belt/ Avon accessories/ Landmark headband
I was already late for my appointment so I threw on the fastest look I could think of: red lips. Fifteen minutes tops and I'm done! Full FOTD details after the cut.

Inspired by Karla
Have you guys ever come across a fashion blog called Karla's Closet? It's amazing! I love Karla's sensible, modern style that's far from boring since she always incorporates romance, whimsy, and vintage into her looks. Aside from her fashion sense, I love her makeup! She doesn't wear that much actually. I just like her signature looks: dark blood red lips (which compelled me to get NYX Dark Cherry) and nude lips with barely there eye makeup.
This time, I saw something different on her: pale lips with smoky eyes. Nothing new but I love the whole "thrown-together", effortless feel of the makeup.

I liked it so much that I decided to cop the look. It's super easy! You can do this in less than 10 minutes. You just need two eyeshadow colors; although you can technically do with one (black) I want something a tiny bit more polished.
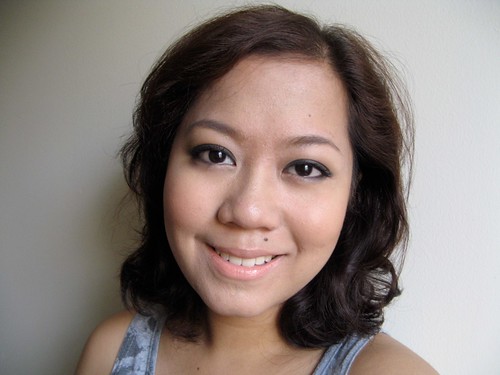
Are you ready? Here's what I did!
Step 1: Do the ground work. Prime your face and brows. For this look, I used: Revlon Beyond Natural concealer, Ellana Caramel Latte mineral foundation and Ellana Espresso Con Panna finishing powder.
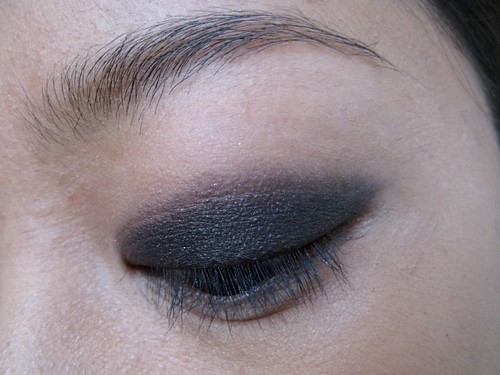
Step 2: Pat on black matte or semi-matte eyeshadow on the lid. I used Urban Decay's Oil Slick eyeshadow.
FOTD: Pink, gold, and daring fuchsia
My go-to lipstick lately is my Revlon Colorburst in Fuchsia. For this look, I challenged myself to come up with an eyeshadow combination that will not clash with the loud lip. I thought of warm colors like gold and pink to flatter my skin tone as well as lend a hand in accentuating the fuchsia!

Photo tutorial up ahead.
Step 1: Pat a warm pink eyeshadow (Urban Decay's Sphynx) all over the lid.


Step 2: Pat on a gold eyeshadow (Twice Baked) on the outer third of your lid.
Apricot cheeks are love
If you really think about it, it's not natural for morenas to blush. I don't remember ever blushing in my entire life. Pink, healthy cheeks are Western Caucasian concepts. Don't get me wrong, I love my pink blushes - even though they're technically not natural for dark Asian skin, they still look flattering on me. That's the whole point right?
In any case, you know what's natural on dark skin? Peach and apricot!

Peach and apricot are the natural colors that our Asian skin change into when we blush, exert ourselves physically, or tan under the sun. I believe that every girl (Asian or not) should have at least one peach/apricot blush in her makeup arsenal since it could really warm up the skin and even make your face look thinner without the harshness of bronzer or contouring powder.
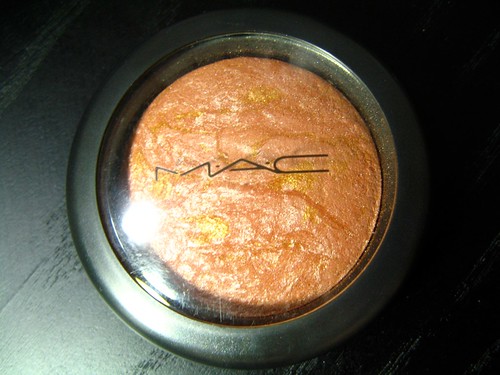
MAC Cheek and Cheerful Mineralized Blush from last year's Colour Craft Collection
I'm currently loving this blush that I bought from Sophie. I was skeptical of it when I firs
FOTD: Winged tea
I am in love with Urban Decay's eyeshadow called Shattered. It's an iridescent shade of teal that reflects fine gold shimmers and has a lovely mint green undertone to it. Perfect for summer! It's very tan friendly. I usually wear it with brown but in this look I decided on a smoky moss green called Misdemeanor (also from UD).
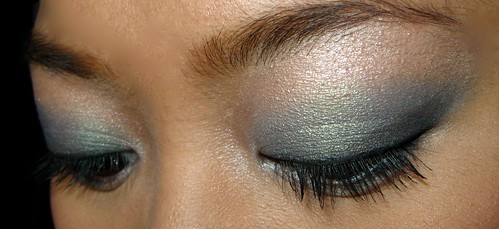
The technique I used in achieving this look is pretty simple! This is what I did:
Step 1: Pat Shattered all over the lid, subtly winging it out.
Step 2: Draw a thick line on the roots of your upper lashes with Misdemeanor. I used a small, round brush to achieve this. Also line your lower lid.
Step 3: Create a thick wing using your eyeshadow, as shown.

FOTD: Foliage, green and brown
I am trying to de-stress a bit on this maddening Monday since I have a ton of things on my plate before I can leave for a well-deserved vacation. I was thinking of lush green trees and shrubbery, hence this look! I made a step-by-step eyeshadow tutorial since this is pretty easy and quick to do. All it takes is three steps and you're out of that door.
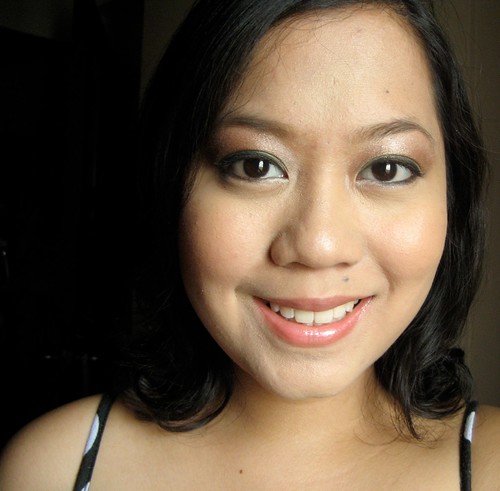
On my face: MAC Studiofinish Concealer, Shiseido Supplist Poreless Foundation, Ellana Espresso Con Panna (finishing powder), Artdeco Brozing Powder, Shu Uemura Glow On in Amber
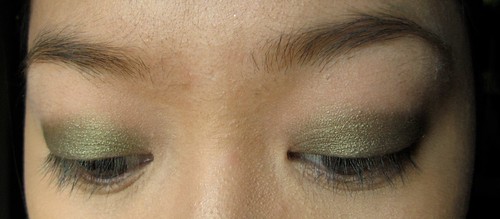
Step 1: Pat green eyeshadow on your lid. I used Mildew by Urban Decay.
Graduation Makeup Tutorial
It's graduation season! Sigh, just thinking about it reminded me of my own graduation last year. It was a solemn event shared with friends and family, who were all so proud of me, and me of them. I've done so many things since then, things I never even once considered while I was studying Political Science at UP Manila. Well! That's another story, haha.
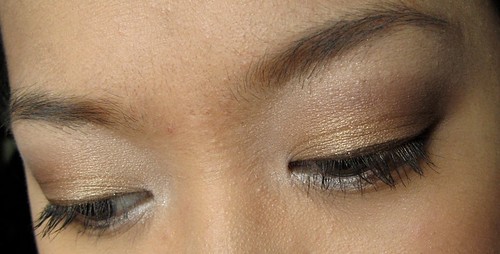
I made a tutorial for all you young graduates out there. Graduation makeup, of course, should fit the occasion - formal, somber, respectable, but not necessarily boring! Hence, I used gold eyeshadow to bring out the eyes while the rest of the colors (different shades of brown) were used to contour the eyes to get a more photogenic effect.

