BB Cream Week: How to apply BB Creams correctly
BB creams are some of the most convenient bases in the history of forever to use. They're much like liquid foundations but with added benefits of hydration, sun protection, and skincare properties. This type of makeup is generally fuss-free to apply, but if you want to maximize them, I just have a few suggestions!

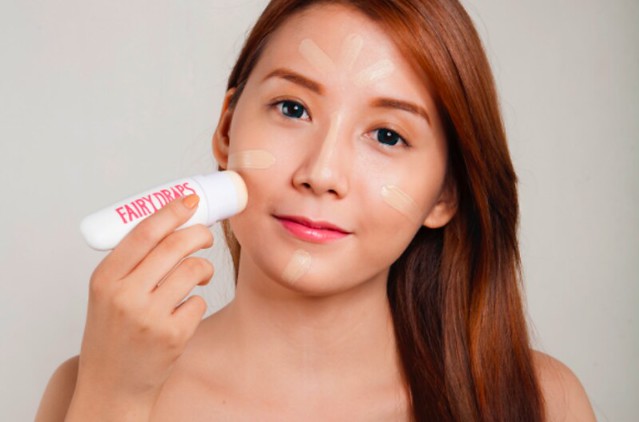
Apply sunscreen beforehand to get the right amount of sun protection and to create a smooth base for your BB cream. Just because your BB cream has SPF so-and-so, it doesn't mean that you'll get that exact number. You will need to apply a whole teaspoon of makeup all over your face to get that promised SPF - but who does that? Realistically you would only use a third of a teaspoon lest your face looks like unbaked cake. You'd still get some sun protection, but it's considerably less than what's noted on the bottle.
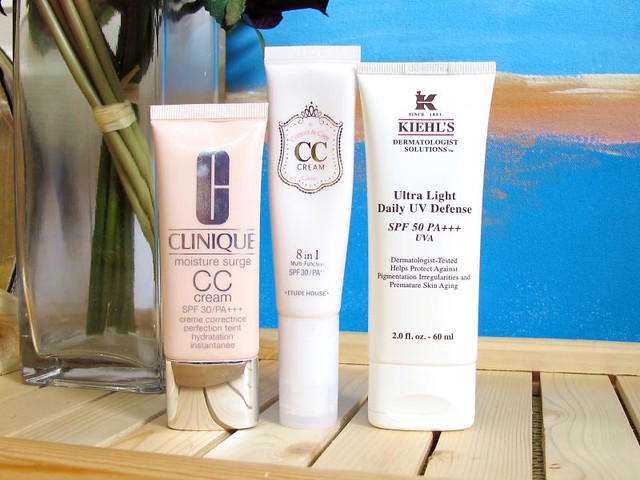
CC creams are excellent sunscreens because they're so sheer! Or you can use an ultra light sunblock like the one from Kiehl's
If your BB cream has SPF 50 then you can skip the sunscreen. But at SPF30 you won't be getting much, so just apply your usual skincare with SPF.
To maintain your protection from the harmful rays of the sun, either retouch your BB cream with a powder containing SPF every three hours, or re-apply the BB cream. The former is more convenient. :)
Smooth the BB cream equally all over your face using your hands. Personally I like the smear the BB cream in neat lines, to make sure that I am distributing the product evenly.
Three easy steps to have full-bodied hair
Don’t you just hate it when your hair goes flat like a fizzed-out soda drink? Flat hair can be caused by too much humidity, product build-up, and improper styling. Thank goodness it’s easy enough to fix! Check out these three easy steps to volumize your hair.
1. Use a clarifying shampoo to remove all traces of product build-up. That mousse, hairspray, and hair serum you love using? They don’t get completely washed away with normal shampoo! They tend to just pile up on the scalp and hair, thus weighing your locks down.
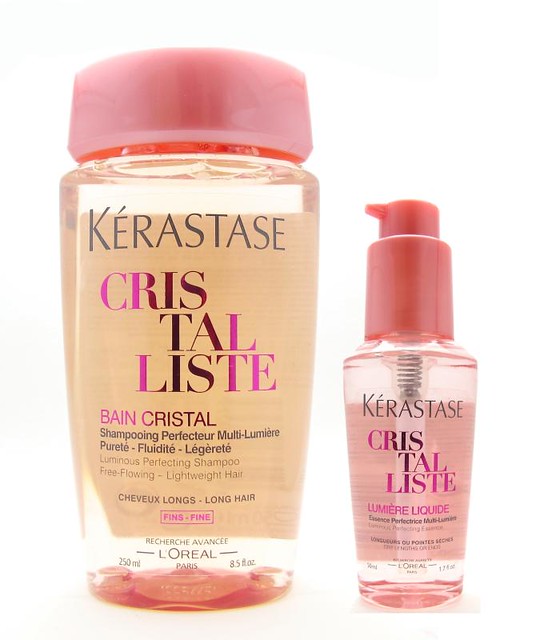
High-end clarification: Kérastase Cristalliste Shampoo and Serum
A good clarifying shampoo can remove any lingering gunk on your hair. It can restore bounciness and shine instantly. However, it’s not meant to be used on a daily basis (two to three times a week is enough). Stick to your normal shampoo for everyday cleansing!
Eyeliner Week: The Double Line
Occupying my mind right now, other than work, is Yolanda and Napoles. But there is a time and place for everything. I just don't feel like talking about heavy current events here because this blog is where I go to indulge the makeup lover in me. Perhaps it is the same for you. So let's keep it a happy fluffy place!
Soooo. If you watch YouTube makeup tutorials I'm sure you notice many gurus double-lining their eyes with a liquid liner than a pencil eyeliner in a similar color. I must admit that this has baffled me for years, I mean, why on earth would one do something like that, twice? I thought it was pointless.

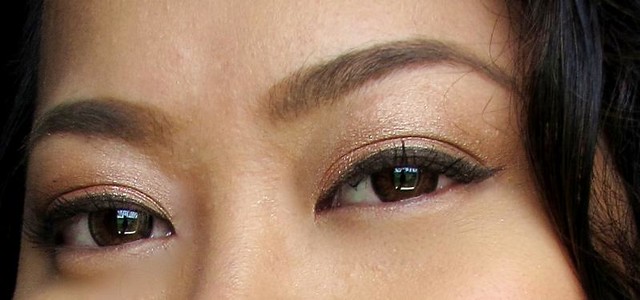
As I discovered recently, however, it's not. Layering eyeliners with different formulas gives my lash line the darkest, most opaque effect I've ever seen!
Shiseido Week: How to use the Perfect Foundation Brush
Seamless and well-blended makeup is the best kind. To achieve it, use a stiff, buffing brush that can work the product into your skin, diffusing the pigments in the formula until they look practically invisible. One brush that is made for exactly that kind of thing is the Shiseido Perfect Foundation Brush (P1,500). This is so famous that a lot of other Asian brands have copied it already!


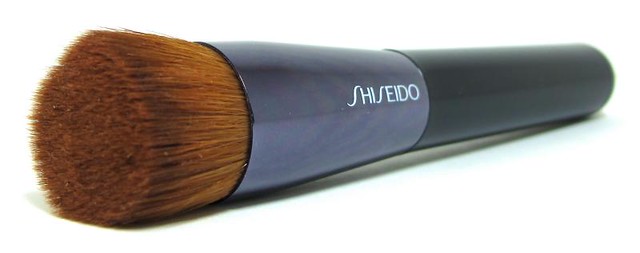
I've already done a full review of the brush, so this time I'll just be showing you a detailed step-by-step tutorial on how to use it and what you can use it with. It's a great brush not only for applying foundation and concealer, but for putting on liquid highlighter and blush as well. Let's get started!
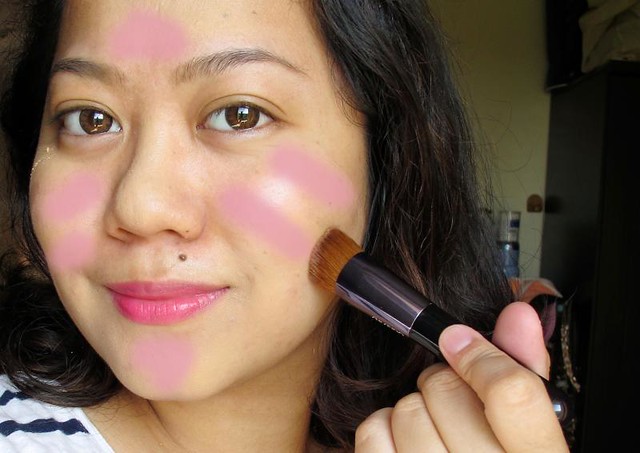
Step 1: Pick your favorite liquid, cream, or in this case, mousse foundation. Apply the foundation in streaks all over your face. Then, spread the product all over your face with the brush. You're just aiming for coverage at this point. Add more on your problem areas but keep it sheer where your good skin is.
How to contour the nose with an eyebrow pencil
Your nose - love it or hate it? I admit I've wished my nose was less round and large, but I've accepted it now. It's my nose. I have come to be affectionate towards it the way I would towards a ratty old pair of pajamas. I haven't really considered something drastic like rhinoplasty because, well, it doesn't honestly disturb me that much. I'm not the type of person whose positive image of herself can easily be ruined by something as minor as a wide nose.
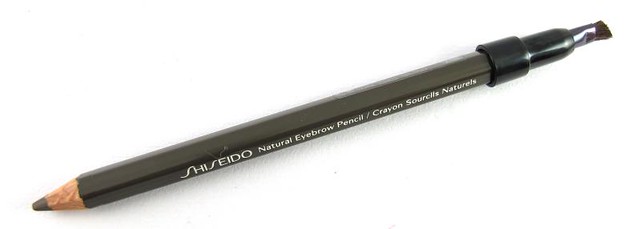
But sometimes I just want to have more definition and height, y'know? Especially in photos where the flash or bright sunlight can wash out my features. I prefer to use a contour powder, but here's a handy trick I learned from YouTube: eyebrow pencils work pretty well too! I particularly like the Shiseido Natural Eyebrow Pencil in Deep Brown BR602 for nose contouring. It's the perfect matte brown shade, something that defines without looking weird and harsh!
You can use other brow pencils if you wish, but yes if you already have the Shiseido pencil then this is a great way to repurpose it. So, here's a quick tutorial on how you can use an eyebrow pencil like this to define your nose. It's super easy!
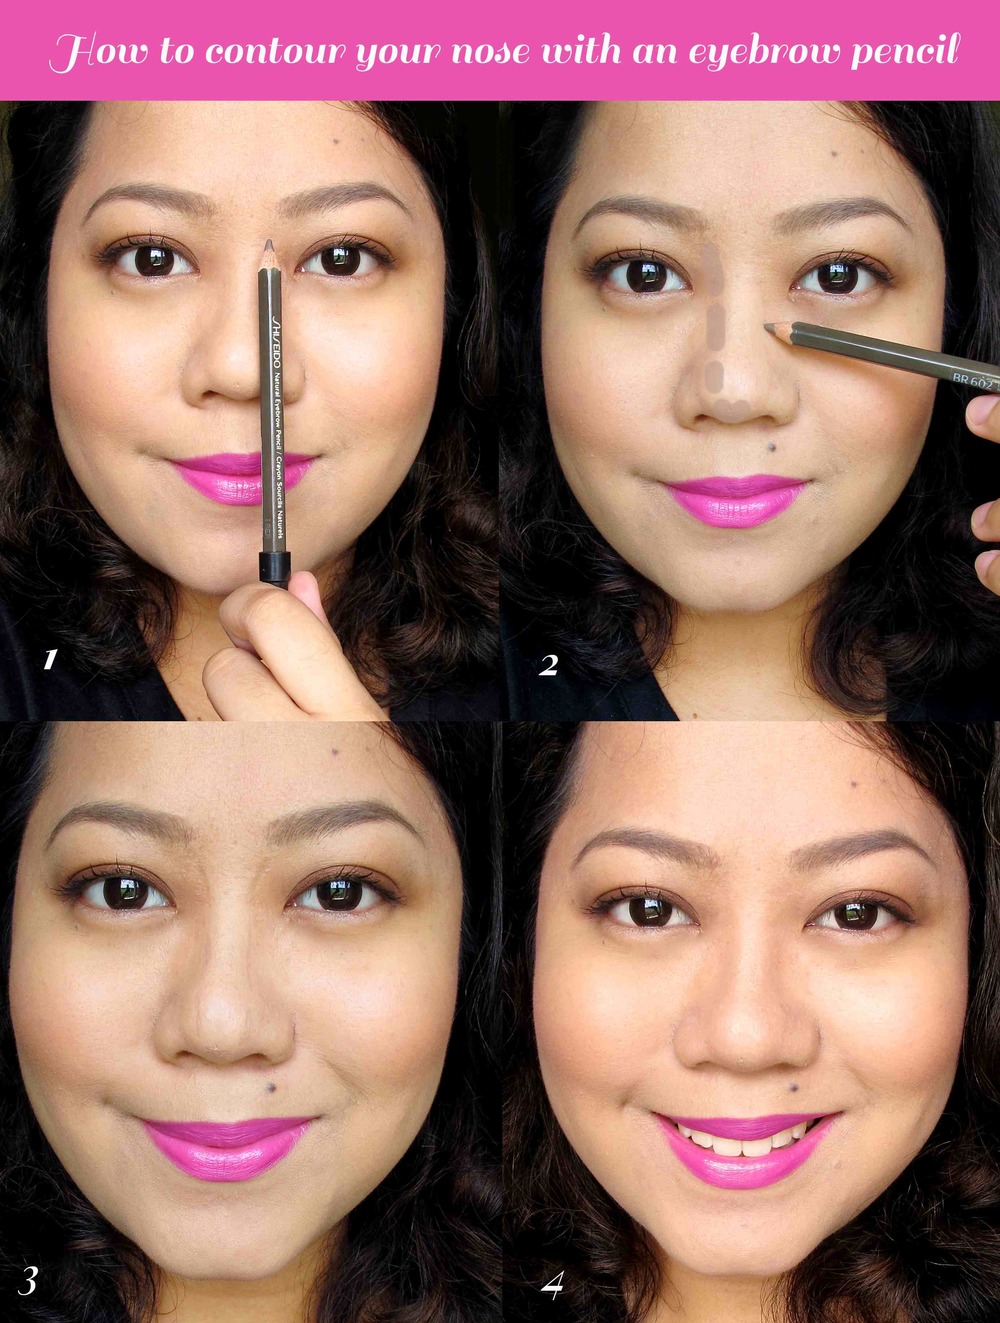
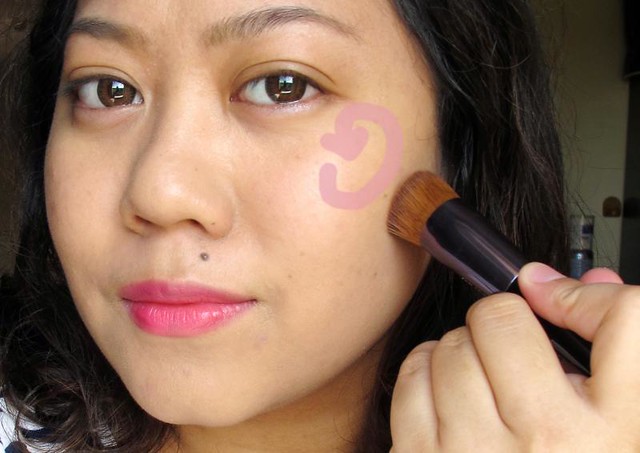
Step 1: Map out your ideal contouring areas. Your goal is to make your nose look slimmer and higher. To do so, shade along the sides of your nose. Use the tip of your nose and beginning of your brows as the reference point.
Lipstick Week: MAC Pro Longwear in Good To Go and Sheen Supreme in Bare Again
A good lipstick wardrobe has an even mix of daily, subdued shades and bright sparks of color. At least 30% of your lipstick collection should comprise of unforgettable shades, the kind that people stop to ask what you have on. Trust me, it's good for your self-esteem! Even if there aren't many occasions to wear these bright shades out, knowing that you have them and can wear them any time you damn well please already adds to that feeling of empowerment.
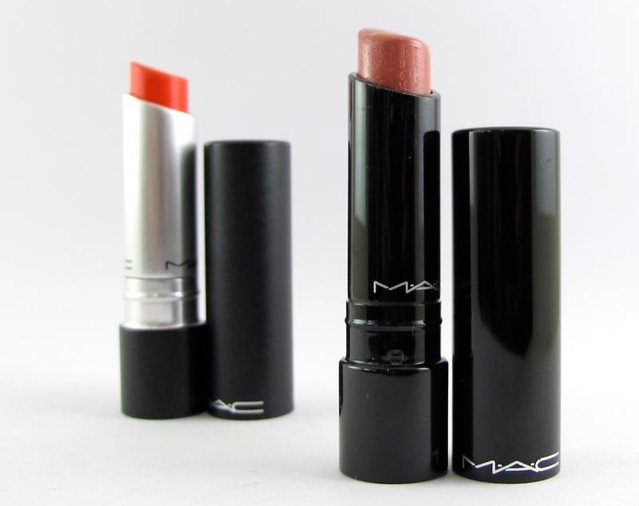
The question is: when should you go bright, and when should you go light? A touch of flattering color on your lips is ideal for more conservative settings like at your office, a business meeting, or perhaps a work-related conference. It's also great for any situation wherein you want to look approachable and likeable - meeting the parents, a new group of friends, making a sale, things like that.
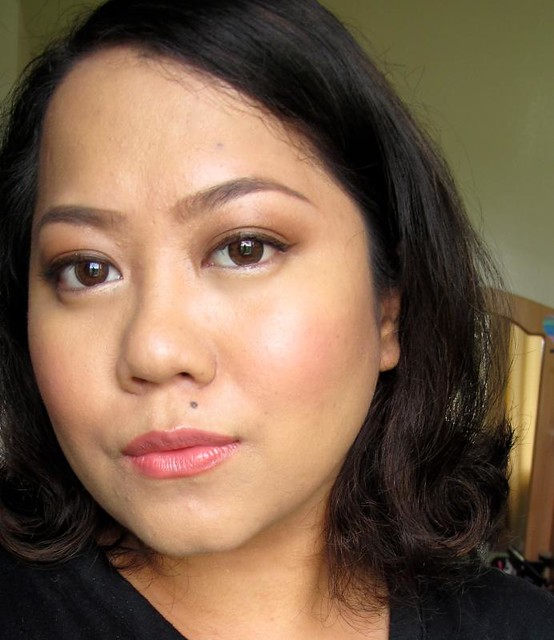
Bright lipstick, on the other hand, is perfect for special occasions, parties, and casual get-togethers among close friends or co-workers. If you have a creative, image-heavy job like being a makeup artist, stylist, actress, magazine writer, etc. then you can pretty much wear any color you feel like!
How to get rid of blackheads
Blackheads are possibly the most annoying things ever. They're not quite pimples, which would inspire fury to all they plague. But they are mean. They are tough to kill. Blackheads are mocking little things that can make you want to just squeeze them out of existence (thus damaging your skin), but it doesn't have to be that way! There are a lot of ways to prevent them and cure them once they begin to multiply.
What causes blackheads and how to prevent them
But wait, before you go charging into combat, you need to know what causes blackheads in the first place. Blackheads are formed when too much oil gets backed up in your pores. The oil then mixes in with dead skin cells. When this yucky combination is exposed to air, it darkens, hence the term "blackheads".
In other words, the best ways to prevent BH is to:
1. Make sure the oil lessens or flows freely onto the surface of your skin. Hormone imbalance can cause excessive oil production - you might need to take some oral medication as prescribed by your dermatologist, if this is the case. Otherwise, if you're just oily because of your genetic makeup, then the best thing you could do is to wear cosmetics that don't clog pores, and to blot the oil ASAP.
2. Regularly slough off dead skin with an effective cleansing and toning routine. Choose facial washes with a mild exfoliating and anti-oil feature
Five tips on how to wake up with glowing skin
Did you know that your beauty regimen at night is just as important as your routine during the day? Oil and sun protection are your top concerns when the sun is out. However, it's easy to overlook dehydration and insufficient nourishment at night. This is the reason you sometimes wake up with a dull and tired-looking face!
Night time is the best time to allow your skin to recuperate from the day's stresses. It's when your body is resting completely that it is able to better absorb any nourishment you care to shower it. If you don't have a good night regimen yet, here are five things you can do that'll help you wake up with glowing skin every morning!
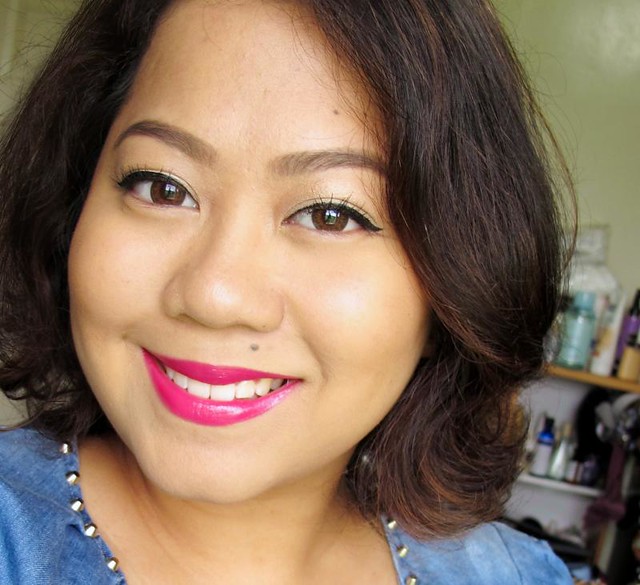
1. Double-cleanse your face. There's cleansing with facial wash, and then there's a thing called double-cleansing. This is a simple technique where you use a makeup remover first before you lather with your facial wash! It's okay to wash your face only once during the morning, but at night you would have accumulated a lot of dirt, oil, and bacteria on top of your makeup. It's absolutely important to be able to remove ALL of that before you move on to the rest of your night routine.
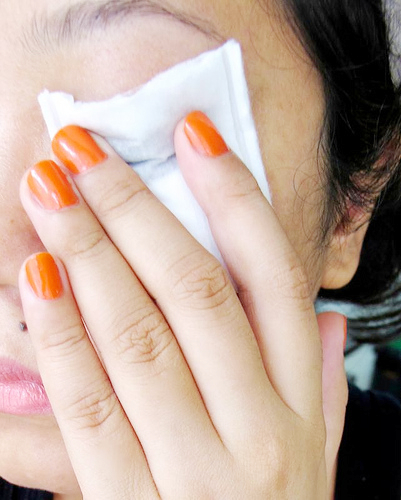
You can use a cleansing oil or water-based makeup remover to wipe off the makeup. Then, proceed to massage your face thoroughly with your preferred facial wash. I like the foamy ones, I feel they clean better. If you have dry skin though, you should go for non-foaming, non-soapy cleansers to keep your moisture barrier intact.
2. Allow your skin to indulge in a rich moisturizer. Due to the humidity in the Philippines, most of us prefer to use light, maybe even water-based moisturizers. These are great to wear during the day, but at night, we need something more moisturizing.
Tutorial: How to create strong yet flattering eyebrows
Why would anyone want to have strong, maybe even bushy-looking eyebrows? I think that would be your first question! In my opinion, full eyebrows look good on anyone at any age. It's not a handicap or just a trend, it really is flattering to have well-defined brows. Full eyebrows can make one look younger and the face, slightly smaller. They can even make your eyes look more expressive and alive!
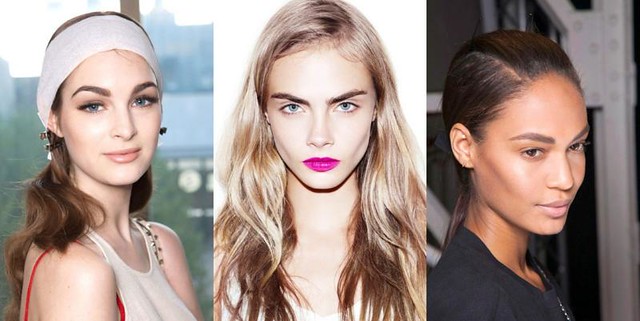
It's not difficult to do, too. All you need is a dark eyebrow pencil that matches your hair and a spoolie or brush to blend the color in properly. You can opt to use a gel or pen brow filler but it's less hassle to do it with a pencil if you ask me. ;)

The best pencil for this purpose is the Shiseido Natural Eyebrow Pencil in Deep Brown BR602. It's a shade that's perfect for us dark-haired girls, since it's not terribly pigmented while providing the right amount of coverage. It comes with a natural hair brush on the other end, as well! It's what I'm using for this tutorial.
Let's get cracking!
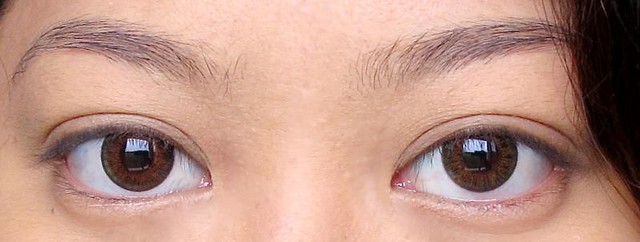
Step 1: Clean up your eyebrows. I highly recommend going to a brow salon if you're attempting this for the first time, but if you don't have the time nor the budget, you can at least do some basic cleaning.
Hot pink lip colour: Three ways to wear it!
Hot pink lipstick - or any bright color for that matter - can be intimidating to wear if you're not used to the idea of it. I wrote a blog post on how to overcome your fear of bright lips so I do hope you can read that some time! ;)
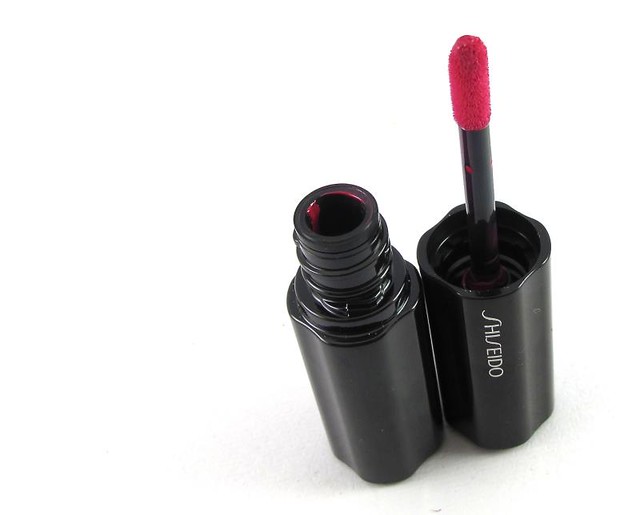
Today I thought of doing three looks you can wear with a hot pink lip color. I was inspired by the Shiseido Rouge Lacquer in Disco since it's easily one of the brightest pinks I have! It rather fits my skin color well, and like I said in my review, it makes my teeth look whiter than normal. Not complaining. At least now I know what to pick up if I want to take a break from the usual teeth-whitening reds.
The looks range from simple, to fun, to dramatic. Enjoy!

Look #1: Sweet and simple. This is my default look for wearing bright pink lipstick! It's easy and quick, some of the reasons I would choose a bright lip color for the day.
How to curl your eyelashes correctly
A great eyelash curler can unlock possibilities that you didn't even know existed for your lashes. There are a lot of options at different price points but get one that fits your unique eyes best! I recommend investing in an expensive lash curler if you can, since it's something that'll last you for years.
Shiseido's is currently my favorite one because it accommodates my big eyes better, plus (I forgot to mention this in the review) the brand sells the pad refills. It's the easiest lash curler for me to use since the flatter rim allows me to angle it to the sides of my eyes; thus, they splay out nicer even without the aid of mascara.
I thought of doing a short tutorial to sho you how to maximize your eyelash curler (particularly this one from Shiseido)! Enjoy!
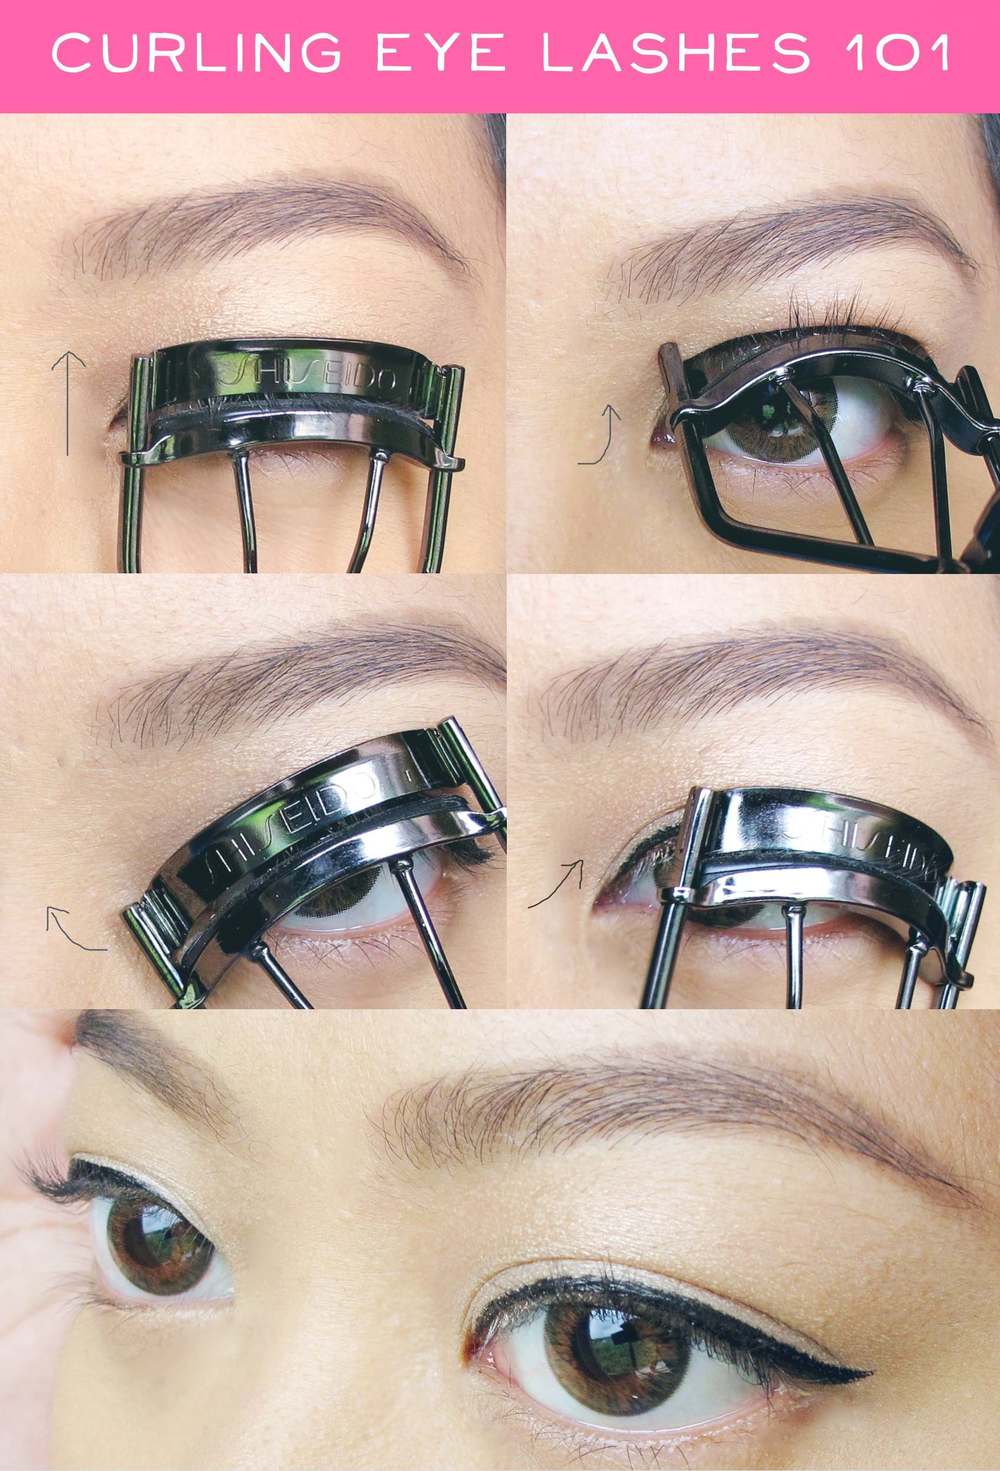
Step 1: Curl near your lash roots. Try to grab as much hair as possible in this first press! The purpose is to give the lashes that instant lift.
DIY: How to make your own BB Cream and CC Cream
BB creams and CC creams are easily available in the market. However, if you want to save a few bucks by simply re-purposing some beauty products you already have, then make your own! It will rock. You will probably be able to get a better shade match and a skin-beneficial product in the bargain.
It begs the question: why don't you just apply these things seperately and call it a day? That works too but it's a lot more time consuming. With a (home-made or store-bought) BB/CC cream, you can skip several steps in your routine!
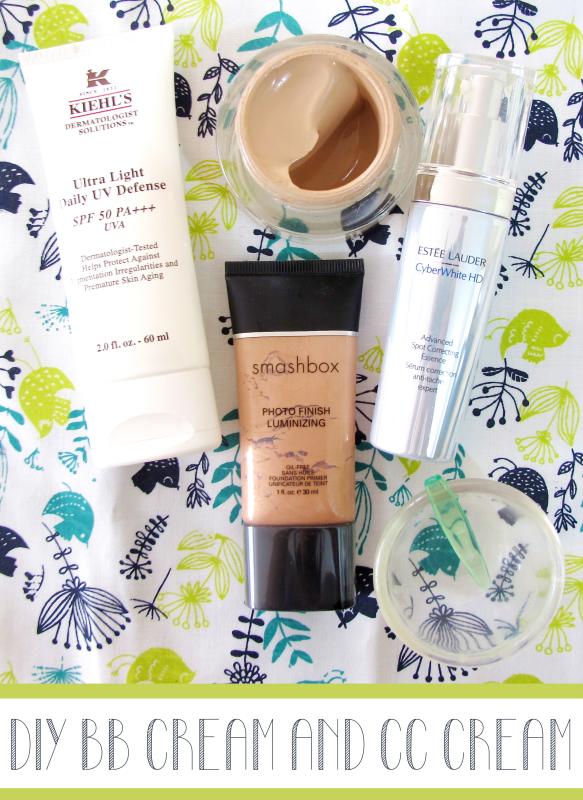
So, I've decided to make a tutorial on how to make your own BB cream and CC cream. BB creams are technically mid-coverage bases with a lot of SPF and skincare properties thrown in. CC creams on the other hand are also beneficial to the skin but have sheerer, more illuminating coverage. To create one, all you need to do is tweak your DIY or store-bought BB cream. ;)
Let's get started!
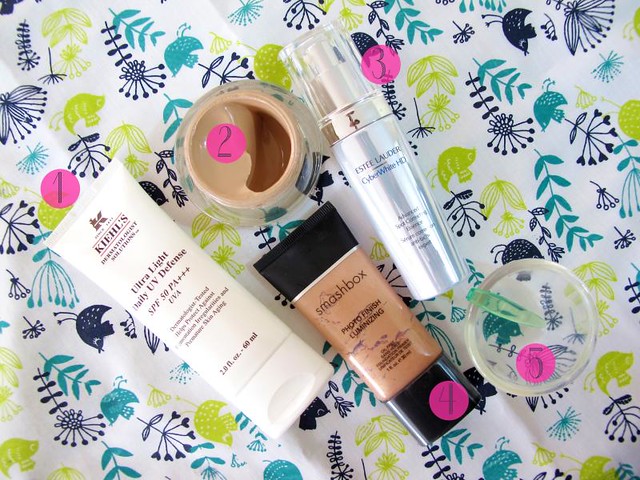
These are the basic things you need. The beauty is that you don't have to use these exact same brands posted here! Just use skincare that works for you and your favorite liquid foundation. I will also include alternatives.
1. Moisturizer with SPF. It ain't a proper BB/CC cream without SPF. ;) If you use an SPF 50 cream, don't expect that number per application since it will already be diluted. What I used: Kiehl's Ultra Light Daily UV Defense SPF50 PA+++
How to take care of your lips
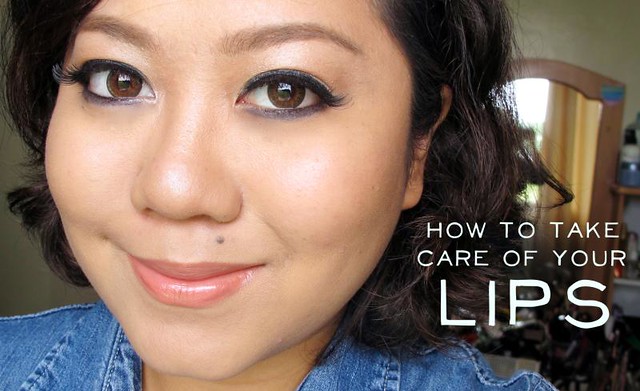
It's important to take care of your lips because it's one of the more sensitive parts of our body. The sun and whatever sits on or passes through your lips affect their appearance, so you must be careful if you want to keep your puckers even-colored and smooth throughout your life!
Here are a few do's and don'ts on how to keep your lips in tip top shape.
DO
Exfoliate your lips gently and regularly. There's no need to use harsh scrubs; indeed, a home-made scrub is the best thing you can use! Just combine honey, lemon, and sugar then gently massage the mixture on your lips. The sugar removes the dead skin, the honey moisturizes and smoothens, and the lemon helps lighten the skin.
If you don't have time to play DIY goddess, you can exfoliate your lips easily after a shower. Your lips are usually softened after a bath so it's easy to wipe the dead skin with just the damp tip of any towel. You can also brush your lips gently using a soft-bristle toothbrush. ;)
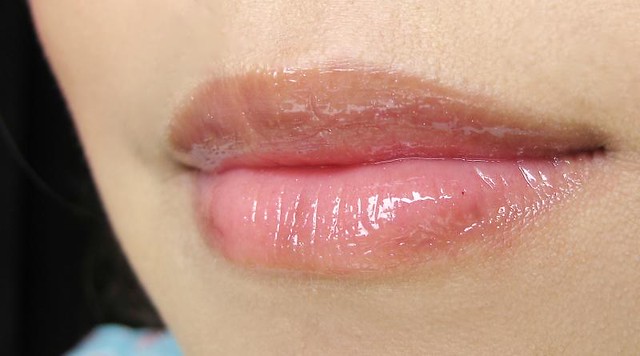
Wear a lip balm with at least SPF15 during the day. A lipstick with SPF works too! Like any part of your skin, you lips darken when you expose them to the sun.
Beauty essentials for your job interview (P3,000 budget)
Congratulations, you just scored your first series of job interviews! You've hurdled college with everything you got, but now it's time to embark on a new journey - one that is considerably tougher and more unpredictable. You need all the advantage you can get. There are thousands of equally experienced fresh grads vying for the same job, so you must find a way to set yourself apart other than a kickass resume.
Dressing appropriately yet stylishly for a job interview is one way to stand out, but of course, you must also put your best face forward. If you're new to makeup, don't have a clue on what to buy, and only have a limited budget - never fear, here are some of my recommendations! You can get all these for just P3,017, but even though they're inexpensive, they're a great foundation for your "work makeup" kit.
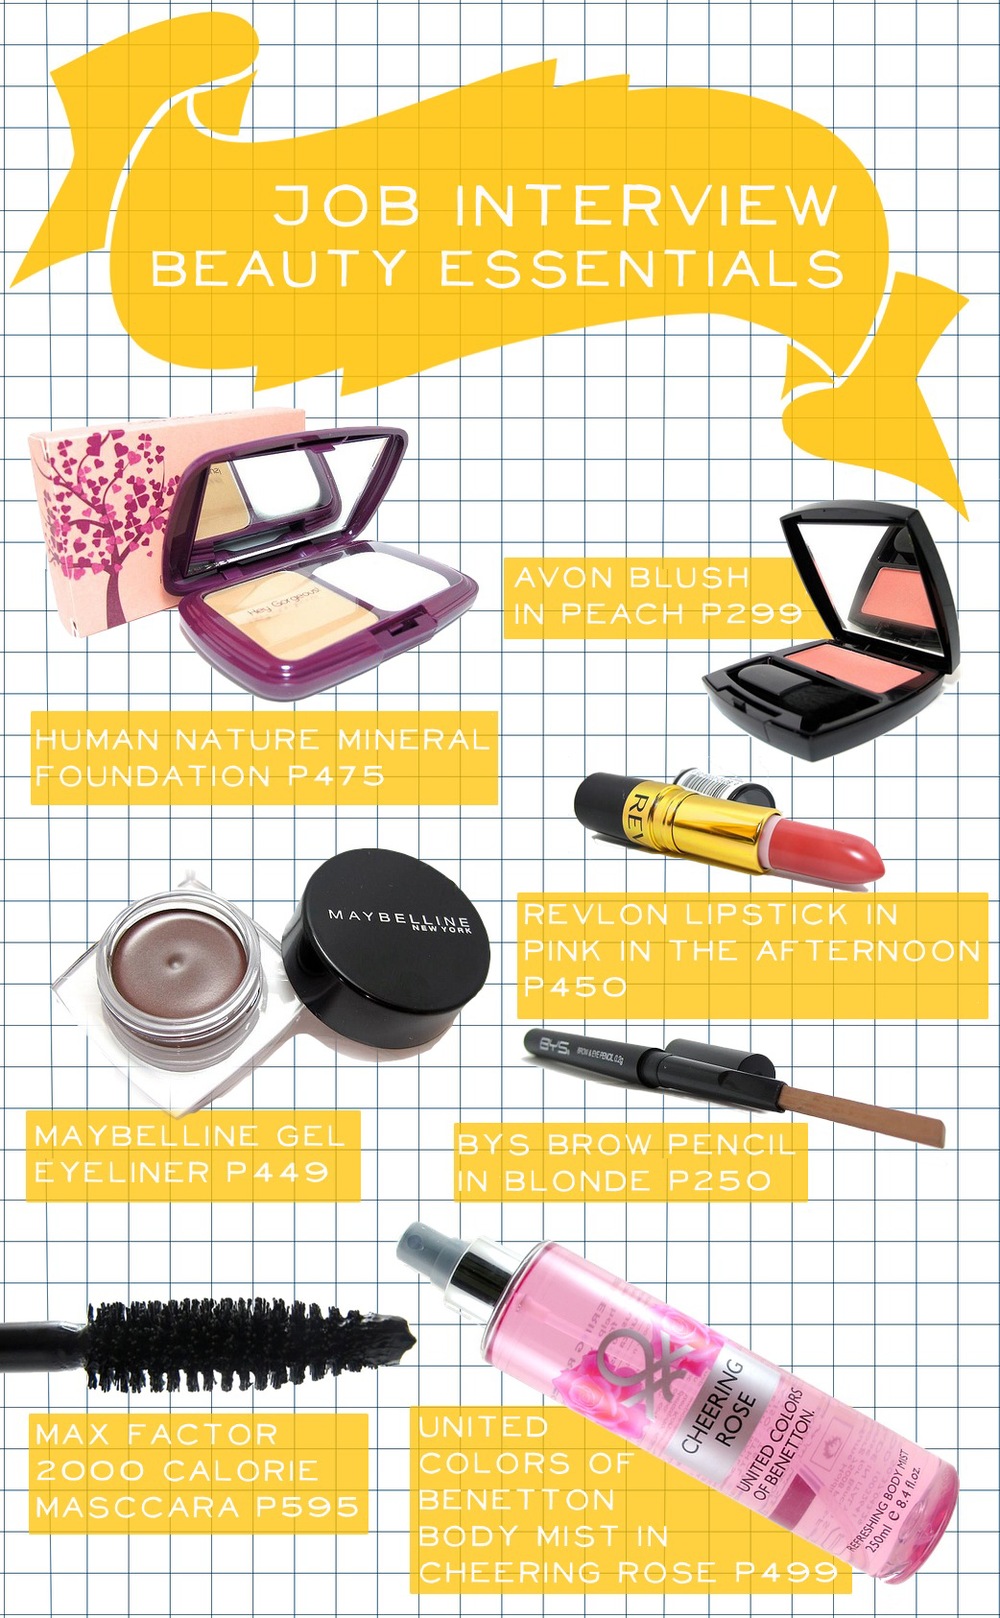
Your job interview makeup should be light, yet polished. You don't want to look like an awkward teenager when you enter the office - you want to look focused and competent but not overly vain. Here are five simple steps to achieve the look!
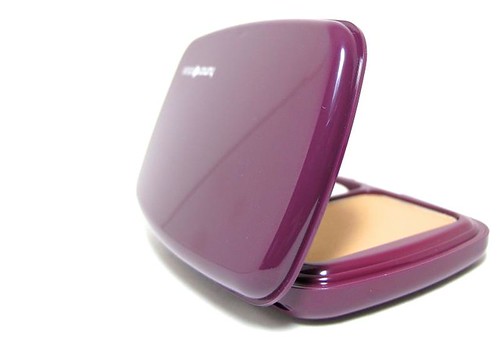
1. Apply a heavy coverage powder foundation such as the Human Nature Perfect Coverage Mineral Foundation to even out your skintone (focus on spots and dark eye bags if you have them). If you have very dark blemishes, cover them with a concealer before applying the powder foundation. Tip: don't forget to bring the compact for retouching! Do so shortly before the interview begins.
The 101 on Eyeliner Brushes
We all started with pencil eyeliners. But the more we learn about makeup and application techniques, the more we crave for precision and different effects for our eyes. If you're a bit advanced in makeup then I'm sure you're starting to explore (or have already explored) cream/ gel eyeliners. This post is all about the basic brushes you can use for those wonderful pots of cosmetics!
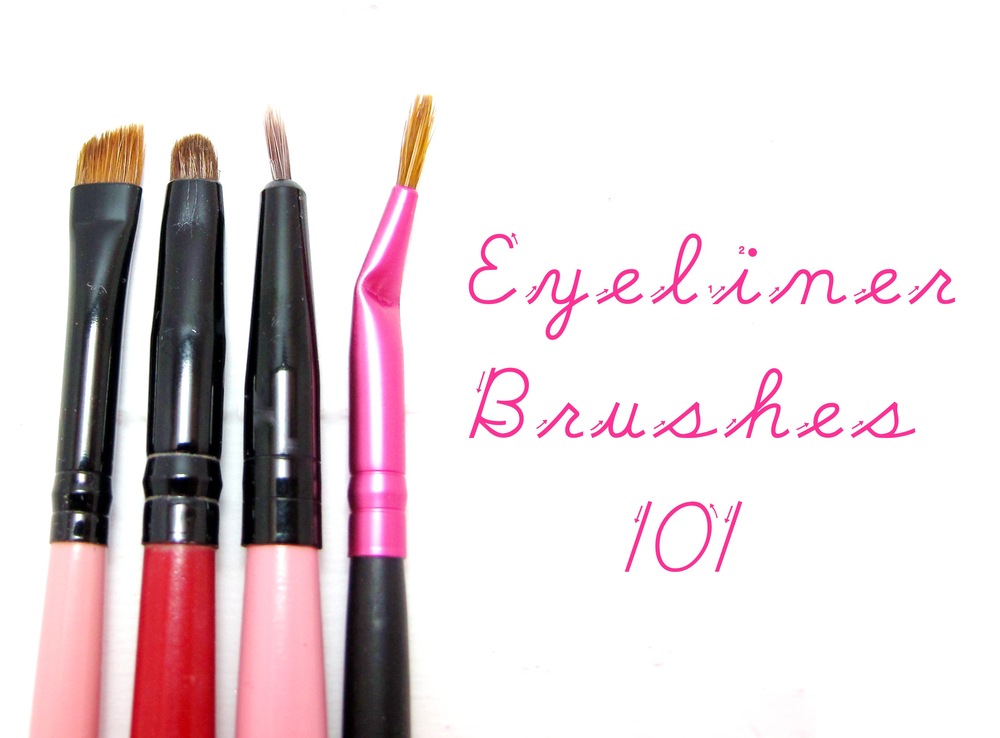
For your reference, the gel liner I used below is the Kanebo Kate Gel Eyeliner (it's amazing and affordable too!). Please also check my tutorial on applying eyeliner, with a short stub on how to do a cat's eye. ;)

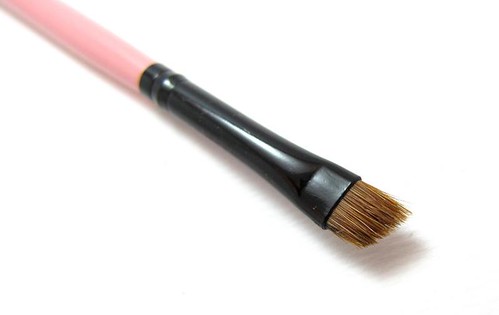
The flat angled eyeliner brush can be difficult to master at first, but it's probably the best brush for that perfect winged or cat's eye line. It draws the outer line thicker so if you have round eyes (like I do) then this brush can elongate them and make them look narrower.
This brush can also be used for shading the eyebrows with a wet product (such as wax or eyebrow gel).
Wild Peach Cosmetics Customizable Palette
Have you tried customizable palettes yet? They're a pretty cool tool for keeping your makeup in one place where you can see them. If you like to collect, I'm sure you know how it can be difficult to remember the stuff you actually have! Customized palettes are also useful to people who like to travel light, without the uneccessary clutter of bulky compacts.
Now there's a few of them special palettes floating around already, but I'd like to present a local and affordable brand: Wild Peach Cosmetics.
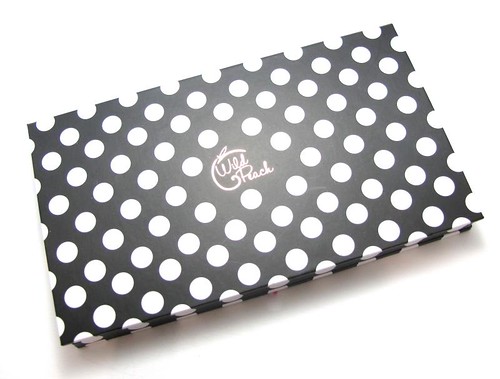
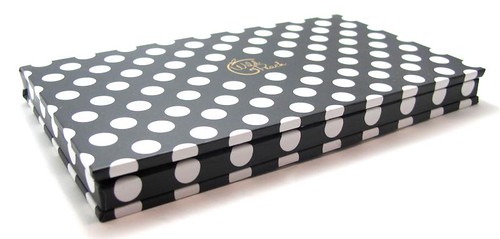
Magnetic palettes like this usually cost P500 to P900 a pop, but Wild Peach sells them at P280 (small) and P550 (large). That's quite a price cut from the competition, ha. I thought it would be flimsy when I found out! But contrary to my low expectations, WP palettes are excellently made with a little bit of heft. The cardboard material feels thick and sturdy, while the matte finish is quite classy in person (there's also a glossy finish but why bother haha).
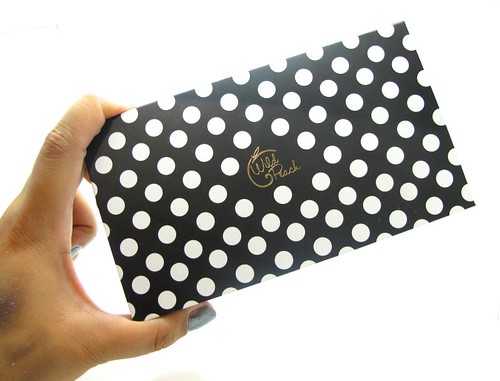
Here's the small sized version in action. I have the large but I haven't photographed it yet! I'll blog about it when I've filled it up.
Reader question: How do you know if you're acidic and what base makeup to use?
During my recent trip to the mall, I was trying to find miself a good concealer. Upon asking for assistance, the first question I got from the sales rep was "Ma'am acidic po kayo?" I didn't know what to say because I really don't know if I am or I'm not, to cut it short she said I am acidic and should get a shade lighter than my color (I'm NC30). Thing is, when I went to the other stall, the sales rep told me I'm not acidic so I ended up confused and yeah, empty-handed. I wanted to find out my skin type first. Any tips on how I can find out? - Purplechef
Hey Iko! Our skin is actually naturally acidic with a pH level between 4.5 and 6.2. It is coated by what is called an acid mantle, which is crucial in protecting our skin from bacteria, fungi, and other irritants that might get into our skin. It's also what keeps our skin moisturized and healthy overall.
Natural factors like age, level of your skin's oiliness, moisture, and sweat, can affect how acidic you are. External factors like the products you use (soaps, cosmetics, lotions, etc.) can also affect your skin's pH level.
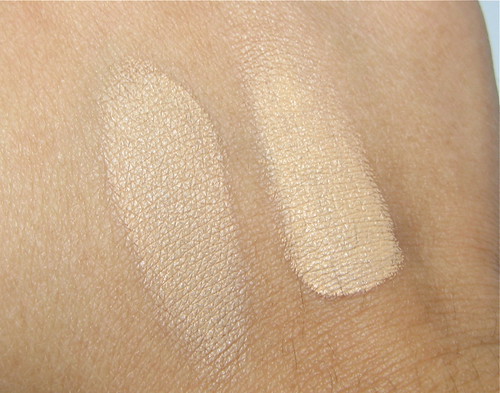
So how does this all apply to your foundation or concealer? Some of you might have noticed that your face makeup turns darker or changes color the longer you wear it. That's completely natural, as you really have to give your makeup some time to settle and adjust on your skin's surface. No base makeup ever looks 100% like it does when you first swatch it on your skin!
How dark or off it looks depends on two things, I find: the formula of the foundation and how oily/acidic your face is.
Reader question: How to prevent your face base from fading when applying color
Hi Liz! Long-time lurker, first-time asker:)
So, I followed your tips on how to create a flawless base, I think I got the steps right, because I'm satisfied with the look I've achieved. I even checked it in natural light (OC!). But when I start contouring the blemishes resurface and darken, it's like they take up the pigments of my blush and contour. Wrong choice of concealer kaya? Thanks! - Tin
Hi Tin! This is an excellent question. It could be the concealer but it's probably your application technique. To prevent your painstakingly-painted base from being erased once you start brushing on color cosmetics, just pat or bounce your brush! Swiper, no swiping! (Yes I went there.) Just use a small amount of product for your first layer since patting it on increases its intensity on your skin.
Don't rub the bristles on either. Just sort of bounce the brush in quick patting motions while going upwards to your hairline. This way, your foundation/concealer/powder will just be pressed onto your skin, instead of coming away with the brush.
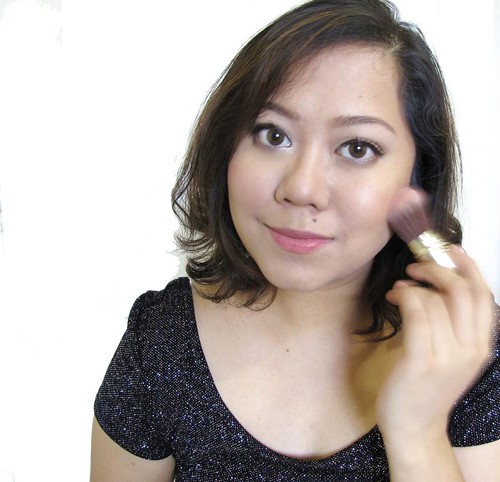
Bounce it like you mean it
It will take a bit of practice but you'll soon get the hang of it, I'm sure! Here are a couple more additional tips to keep your base in place.
Three contouring myths that may be scaring you off
If you have the cheekbones of a Roman goddess then woo good for you. Congratulations on your genetic good fortune! But if you're like me with a round face and chubby cheeks then contouring may be the best thing to slim down and/or define your face.
I'm not saying that you should hate yourself because your face is wide and/or fat. In fact you shouldn't hate yourself for anything you have or don't have if you are to be happy and productive! I for one love my face as it is, but sometimes when I'm off to special occasions I prefer a little bit of definition - for photos, more than anything. I look different in photos than I do in person, so I want to even out the odds in favor of getting a flattering shot. It's not like you can ask a blog or publication to delete a photo of myself just because I look muy terrible!
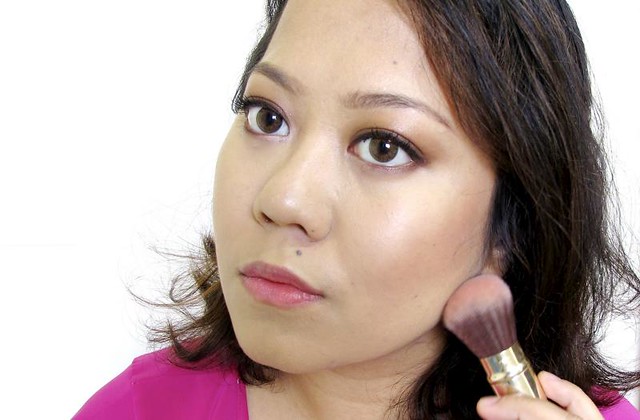
I have the impression that most girls in the Philippines aren't into contouring. Blush yes, but not contour. I can think of only three reasons this is so. Do you believe in these yourself? Here are three contouring myths that may be intimidating you - and why you shouldn't be at all!
"Contouring will make me look more tan." Bronzing can give you a tanned glow, but contour powders are usually matte and must be applied only on very specific areas of the face. They should only go on the cheekbones, temples, side of the nose, and jawline. If done correctly it shouldn't actually make your face look darker or your complexion, muddy!
How to keep your brushes in good shape
You can use good quality brushes for half a decade or more if you take care of them well. They should even be able to withstand a level of abuse, because that's why you're paying so much for them to begin with! But no matter how expensive or cheap your brushes are, you'll notice that some of them will start to have fly-away bristles after frequent cleaning. How do you prevent this?
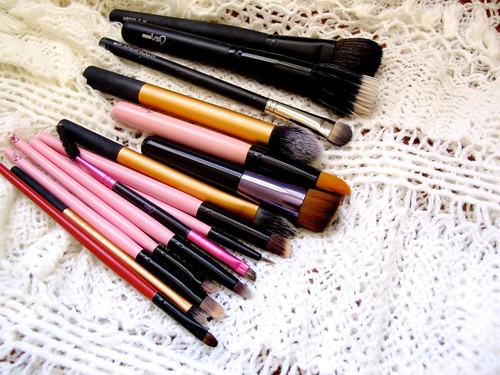
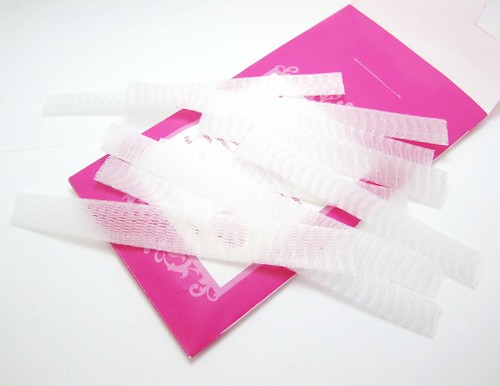
Simple! Just use a brush guard. :) It's basically a fine plastic net that you place on top of your brushes while you're drying them. It keeps all the bristles in good shape while still allowing them to dry properly. I'm sure you've heard of this before, but you probably think it's something you can live without. Well, yeah you can, but your brushes need one!
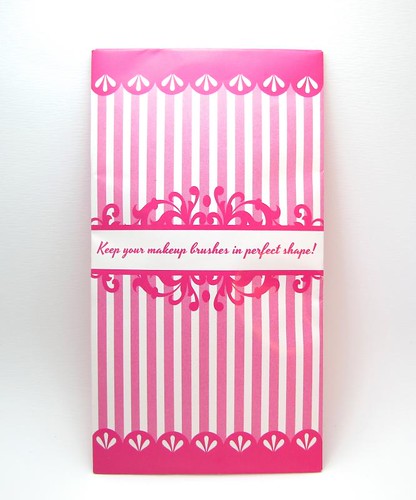
The one I have is called the Charm Makeup Brush Guard (P250). It contains twelve pieces of brush guards - in different sizes but any size can fit even the biggest face brush. You can even cut them up to use with your smaller eye brushes.
