How to look good in your passport and visa pictures
There are only a few things more exciting than traveling out of the country and exploring a whole new place. Just taking in the sights and sounds and absorbing a rich, unfamiliar culture can change you in ways that you wouldn't have imagined. But before the fun part, there's the paperwork that you need to get through first, that is, a passport and/or a visa.
Information about the requirements are easy to find, but how about the pictures you need to take? Of course we want to look pretty - or at least, human - in our passports/visas, so here's a guide on how to achieve just that with a bit of makeup!
First things first: the most important thing to remember is that you can't wear or do anything above your shoulders that would drastically alter your resting face. That means, no jewelry, no smoky eyes or loud lips, no angling your face or even smiling. So how do you look photogenic without all these things? How do you make your skin look great even in bad lighting? Here's my advice!
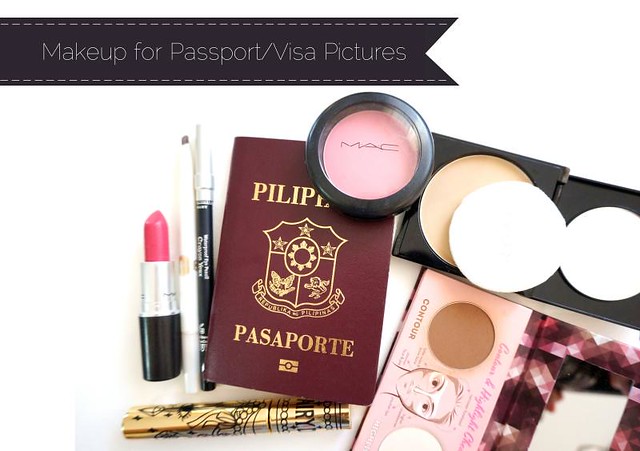
Tip #1: Wear a matte foundation with little to no SPF. A foundation with over SPF20 typically shows a white cast due to the sun protecting ingredients, so avoid that when having your pictures taken by cameras with flash. Matte is recommended because that harsh flash also magnifies the shine of light-reflecting makeup.
In any case, don't forget to retouch with powder before your photo sesh! And wear foundation that matches your neck.
Tip #2: Define your features well but keep the colors muted. You want to look professional and put-together. Do your eyebrows slightly darker, wear only brown/black eyeliner, blush should be light, and lips are ideally a muted pink.
Three ways to improve your neutral makeup
Context is everything when it comes to wearing makeup. At least, it's important to me. I try to match my face to where I'm going because I believe that makeup should complement the situation and not be too much in contrast to it. You know what I'm saying? Paint your face and dress appropritately, too, and people will respect you.
(Then again if respect isn't your priority then go ahead and wear whatever the hell you want. Seriously.)

So! A couple of girls asked me about the makeup I had in one of my recent reviews. It's something I wore to a lunch meeting, hence the thoroughly neutral color scheme. But neutral doesn't necessarily mean "flat and boring", which is how some people seem to do it. Neutral makeup can be fun, beautiful, and equally effortless, too! Here are some tips on how to liven up your neutral makeup.
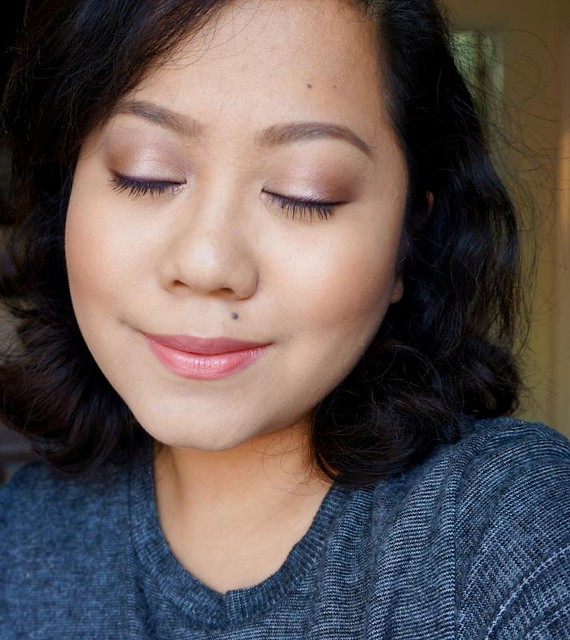
1. Matte eyeshadows are lovely in photos but in person, they just look...flat, unless you're a crazy gifted makeup artist who can layer and blend it perfectly. I still prefer to wear satin or shimmery eyeshadows since they brighten my eyes better. There are tons of awesome neutral palettes out there, but this time I tried an old one from revlon called Graffiti.
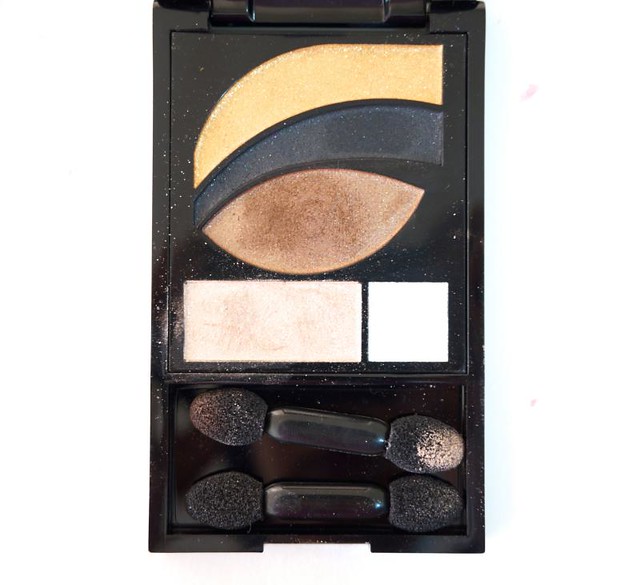
I wore the shimmery champagne on the lids, the light tan on the crease, and contoured with a tiny bit of that charcoal color on the outer v. Easy and simple, true, but it's the finish that takes the cake.
Cheap finds: e.l.f Studio Blush Brush
What can you get for P250 bucks? An appetizer at a nice resto, a Starbucks drink with a cookie on the side, a really cute notebook (or two), or a muli-tasking brush like the e.l.f Studio Blush Brush! I think e.l.f should rename this to well, anything else but "blush brush". If one doesn't know much about makeup then one wouldn't be able to truly maximize this interesting tool!
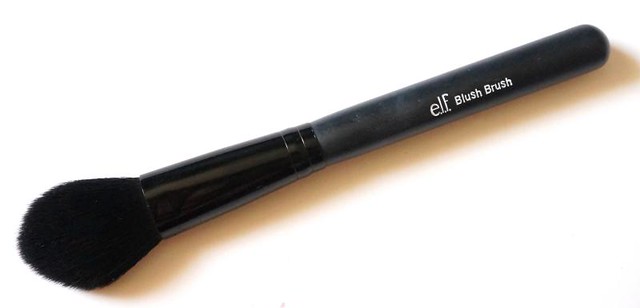
This cheapo brush has taklon, surprisingly fine and soft hair. These bristles are densely-packed in a small, flat-ish brush head. Yes, small and flat, about the size of a regular foundation brush - just slightly fluffier. This shape allows for a more precise application of cheek color and contour, but it also opens up a world of possibilities.
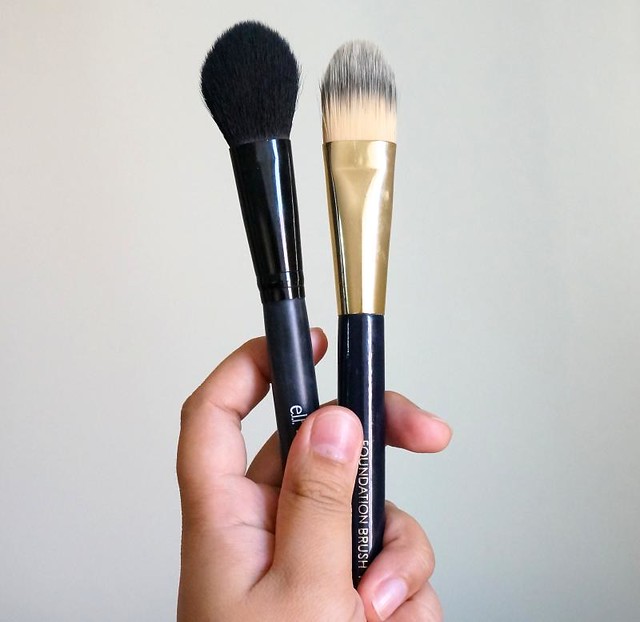
You can use this e.l.f brush for applying heavy coverage powder and liquid foundation, as well as cream colors on the cheeks.
Summer starts now
Since the onset of this insane heat, I've received a few questions about the kind of beauty products one should take to a beach vacation. Sunscreen is, of course, SOP, but you have a little more freedom when it comes to makeup. There are only two things to keep in mind: don't wear a lot, and make sure it will melt beautifully or not at all!
I followed these two rules while I was packing for El Nido a couple of weeks back (was it only two weeks?). Anyway, here's what I brought with me to the beach. You'll notice that I didn't bother with powder, instead going for cream or liquid colors. Why? Because cream/liquid makeup looks more natural, more "one" with your skin. Powder makeup looks off in the beach, since it can look thick, cakey, and overdone in such a casual setting. It's best to go with wet formulas to achieve a chic summer-at-the-beach look!

I packed everything in my Happy Skin brush bag. It's so cool no? I get to take these neatly-packed, travel-sized brushes and fit a whole face of makeup in too. The brushes are handy (my favorite is the flat top, sold separately as it happens), but the bag is really something else. It's compact but roomy, and I love the two-level arrangement for the brushes.
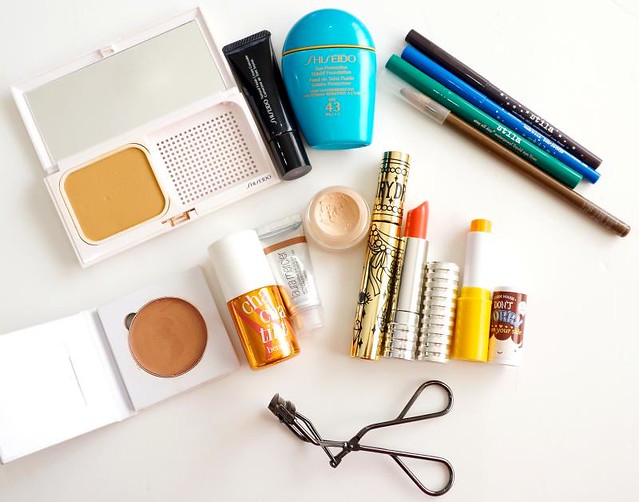
I brought my favorite bases from Shiseido: the Sun Protection Liquid Foundation SPF43, White Lucent Brightening Spot-Control Foundation, and Natural Finish Cream Concealer. Together, they're long-wearing and provide a good amount of coverage + sun protection. I used the Sun Protection foundation while swimming and it stayed on fairly well. I mean, it faded of course, but there were still some left over when I washed my face. It's very water-resistant!
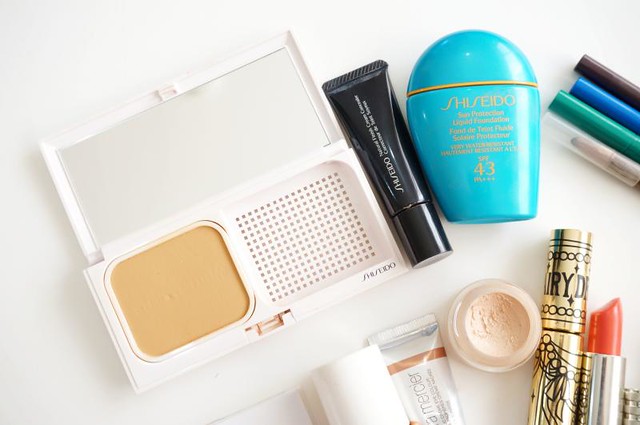
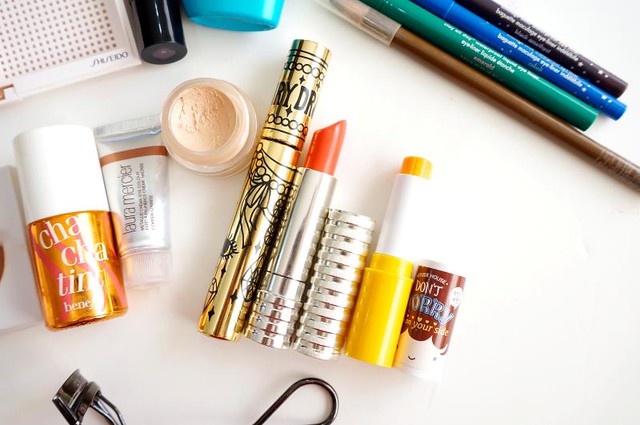
The Fairydrops Platinum Mascara is still the best for extreme humidity, I think. It won't stay on after swimming but it will not fail you under the heat.
Five things that you can do to improve your makeup now
There is only so much you can learn from YouTube and beauty blogs. It's better to stand in front of a true artist and see how he does his fabulous tricks up close! That's why I always try to attend events where brands bring their own international makeup artists. There's always a new technique to see, a new style to absorb. I may not have formal training but I'm fortunate enough to be invited to witness these masters at work.

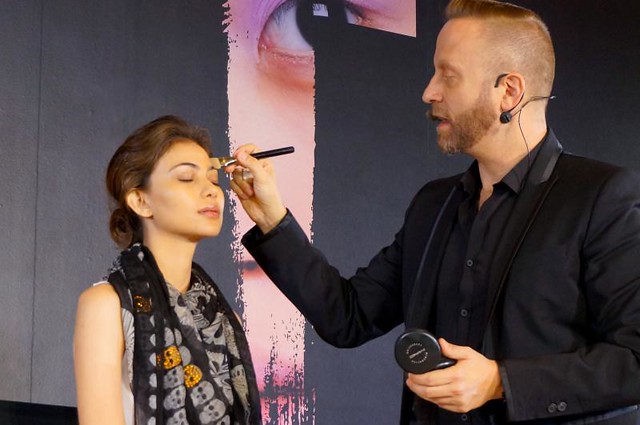
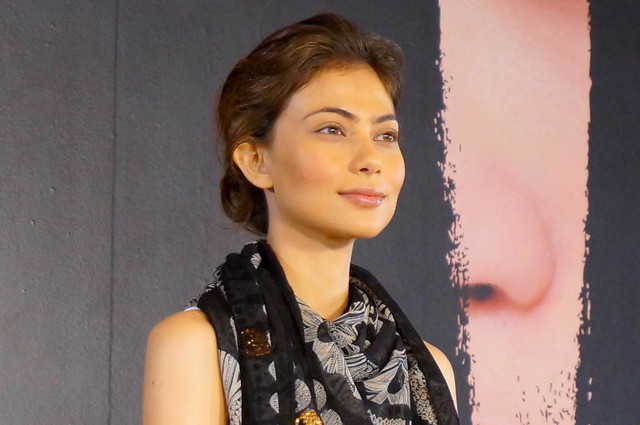
Last Saturday, I did just that. Gregory Arlt, the Director of Makeup Artistry for MAC Cosmetics, came to visit the Philippines to demonstrate new techniques and products. Gregory does the makeup of Dita Von Teese, Gwen Stefani, and Katy Perry to name a few. He's done covers, campaigns, and shows. I loved watching him since he was so eloquent and entertaining!
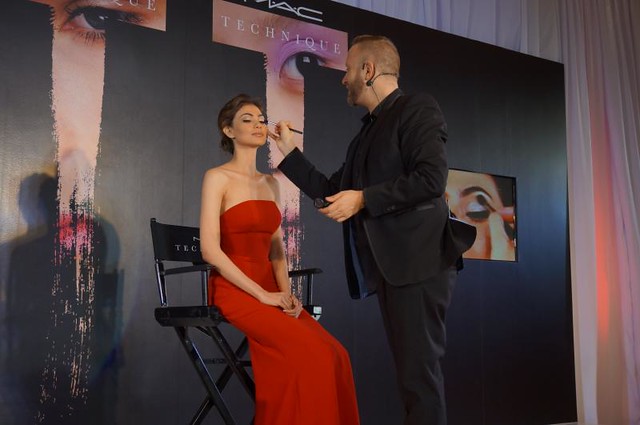
He showed us a simple, everyday look and a more glamorous yet understated evening look. You may have heard much of the advice if you already know the basics of makeup, but he also imparted a few lesser-known gems that I think would help all of us improve our daily makeup routine. Here they are!

Tip #1: Moisturize, prime, and spritz. What you wear under your makeup is just as important as what’s on top. Remember to use a brightening moisturizer, a smoothing primer, and a lip conditioner before you put on anything else. Spritz something like the MAC Fix+ to liven up your skin and plump it up. Your moisturizer and primer will seal that water in for better hydration throughout the day.
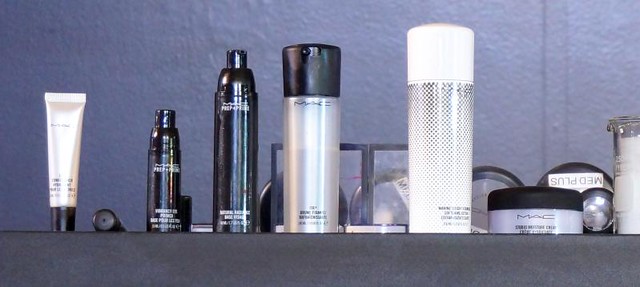
Tip #2: Use a flat foundation brush to apply heavy coverage powder foundation. You think you can only use THAT for liquid foundation? Think again! If you use powder foundation like the MAC Studio Fix, apply it with a paddle brush to get a finer, more precise coverage. We tend to slather it on with sponges and dense powder brushes, I know, which gets us a mask-like finish. Build it up patiently with a synthetic flat brush, like what Gregory did here.
I tried this at home with a loose foundation and it works!
