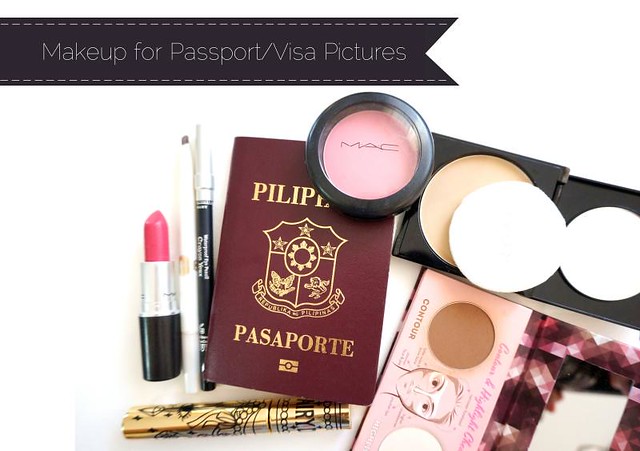
How to look good in your passport and visa pictures
There are only a few things more exciting than traveling out of the country and exploring a whole new place. Just taking in the sights and sounds and absorbing a rich, unfamiliar culture can change you in ways that you wouldn't have imagined. But before the fun part, there's the paperwork that you need to get through first, that is, a passport and/or a visa.
Information about the requirements are easy to find, but how about the pictures you need to take? Of course we want to look pretty - or at least, human - in our passports/visas, so here's a guide on how to achieve just that with a bit of makeup!
First things first: the most important thing to remember is that you can't wear or do anything above your shoulders that would drastically alter your resting face. That means, no jewelry, no smoky eyes or loud lips, no angling your face or even smiling. So how do you look photogenic without all these things? How do you make your skin look great even in bad lighting? Here's my advice!
Tip #1: Wear a matte foundation with little to no SPF. A foundation with over SPF20 typically shows a white cast due to the sun protecting ingredients, so avoid that when having your pictures taken by cameras with flash. Matte is recommended because that harsh flash also magnifies the shine of light-reflecting makeup.
In any case, don't forget to retouch with powder before your photo sesh! And wear foundation that matches your neck.
Tip #2: Define your features well but keep the colors muted. You want to look professional and put-together. Do your eyebrows slightly darker, wear only brown/black eyeliner, blush should be light, and lips are ideally a muted pink.
Three ways to improve your neutral makeup
Context is everything when it comes to wearing makeup. At least, it's important to me. I try to match my face to where I'm going because I believe that makeup should complement the situation and not be too much in contrast to it. You know what I'm saying? Paint your face and dress appropritately, too, and people will respect you.
(Then again if respect isn't your priority then go ahead and wear whatever the hell you want. Seriously.)

So! A couple of girls asked me about the makeup I had in one of my recent reviews. It's something I wore to a lunch meeting, hence the thoroughly neutral color scheme. But neutral doesn't necessarily mean "flat and boring", which is how some people seem to do it. Neutral makeup can be fun, beautiful, and equally effortless, too! Here are some tips on how to liven up your neutral makeup.
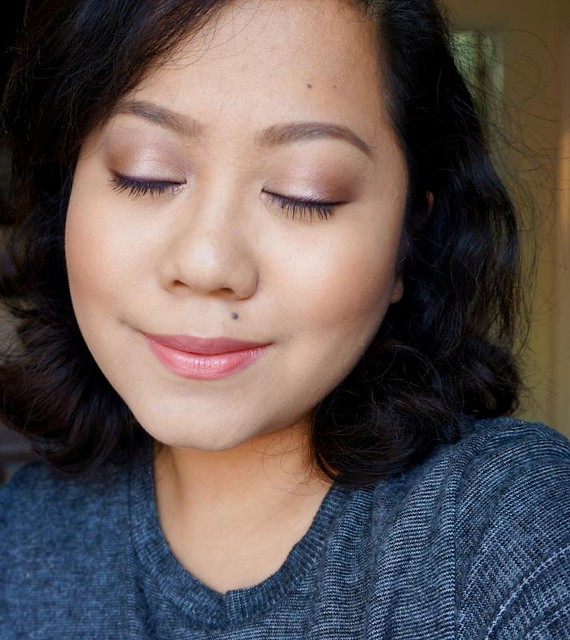
1. Matte eyeshadows are lovely in photos but in person, they just look...flat, unless you're a crazy gifted makeup artist who can layer and blend it perfectly. I still prefer to wear satin or shimmery eyeshadows since they brighten my eyes better. There are tons of awesome neutral palettes out there, but this time I tried an old one from revlon called Graffiti.
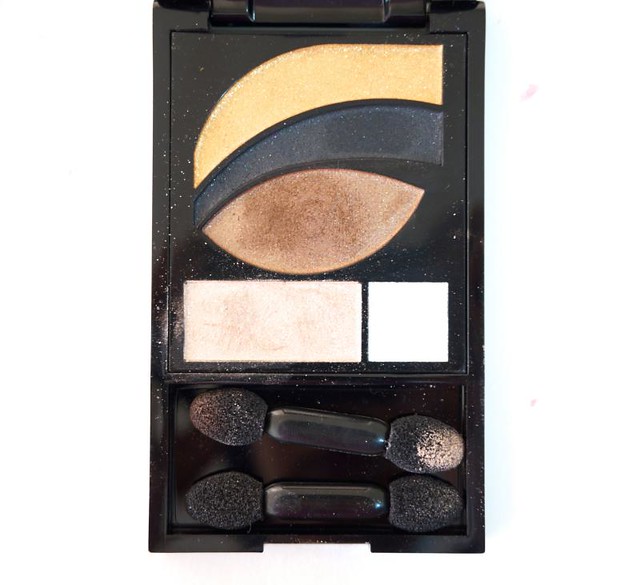
I wore the shimmery champagne on the lids, the light tan on the crease, and contoured with a tiny bit of that charcoal color on the outer v. Easy and simple, true, but it's the finish that takes the cake.
Five things that you can do to improve your makeup now
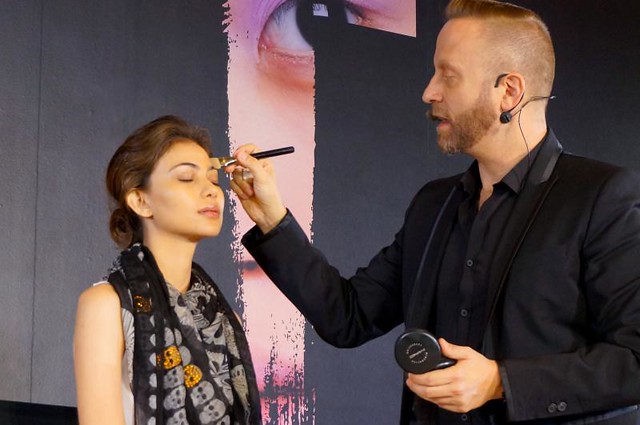
There is only so much you can learn from YouTube and beauty blogs. It's better to stand in front of a true artist and see how he does his fabulous tricks up close! That's why I always try to attend events where brands bring their own international makeup artists. There's always a new technique to see, a new style to absorb. I may not have formal training but I'm fortunate enough to be invited to witness these masters at work.

Last Saturday, I did just that. Gregory Arlt, the Director of Makeup Artistry for MAC Cosmetics, came to visit the Philippines to demonstrate new techniques and products. Gregory does the makeup of Dita Von Teese, Gwen Stefani, and Katy Perry to name a few. He's done covers, campaigns, and shows. I loved watching him since he was so eloquent and entertaining!
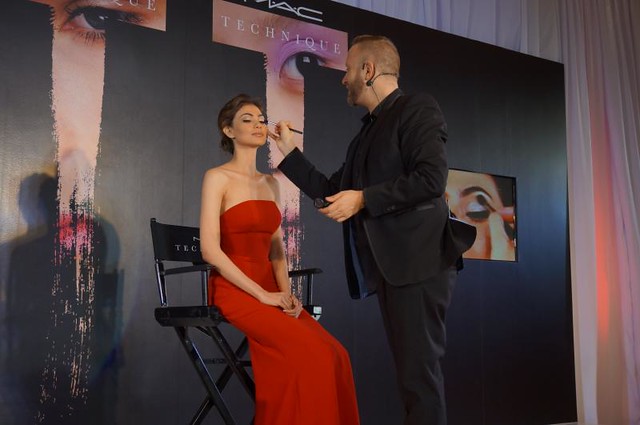
He showed us a simple, everyday look and a more glamorous yet understated evening look. You may have heard much of the advice if you already know the basics of makeup, but he also imparted a few lesser-known gems that I think would help all of us improve our daily makeup routine. Here they are!

Tip #1: Moisturize, prime, and spritz. What you wear under your makeup is just as important as what’s on top. Remember to use a brightening moisturizer, a smoothing primer, and a lip conditioner before you put on anything else. Spritz something like the MAC Fix+ to liven up your skin and plump it up. Your moisturizer and primer will seal that water in for better hydration throughout the day.
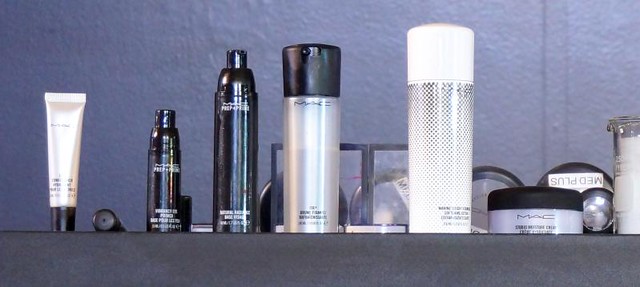
Tip #2: Use a flat foundation brush to apply heavy coverage powder foundation. You think you can only use THAT for liquid foundation? Think again! If you use powder foundation like the MAC Studio Fix, apply it with a paddle brush to get a finer, more precise coverage. We tend to slather it on with sponges and dense powder brushes, I know, which gets us a mask-like finish. Build it up patiently with a synthetic flat brush, like what Gregory did here.
I tried this at home with a loose foundation and it works!

BB Cream Week: How to apply BB Creams correctly
BB creams are some of the most convenient bases in the history of forever to use. They're much like liquid foundations but with added benefits of hydration, sun protection, and skincare properties. This type of makeup is generally fuss-free to apply, but if you want to maximize them, I just have a few suggestions!

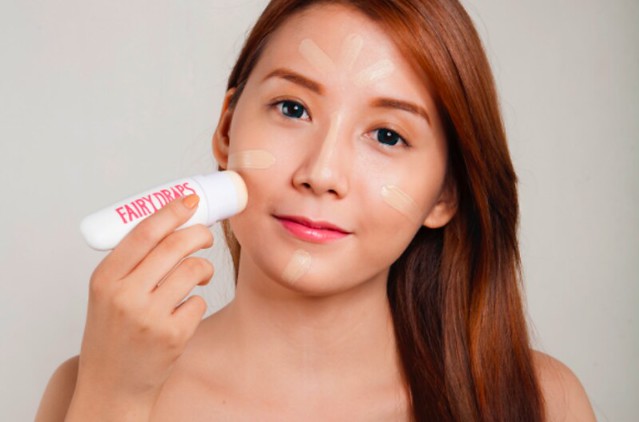
Apply sunscreen beforehand to get the right amount of sun protection and to create a smooth base for your BB cream. Just because your BB cream has SPF so-and-so, it doesn't mean that you'll get that exact number. You will need to apply a whole teaspoon of makeup all over your face to get that promised SPF - but who does that? Realistically you would only use a third of a teaspoon lest your face looks like unbaked cake. You'd still get some sun protection, but it's considerably less than what's noted on the bottle.
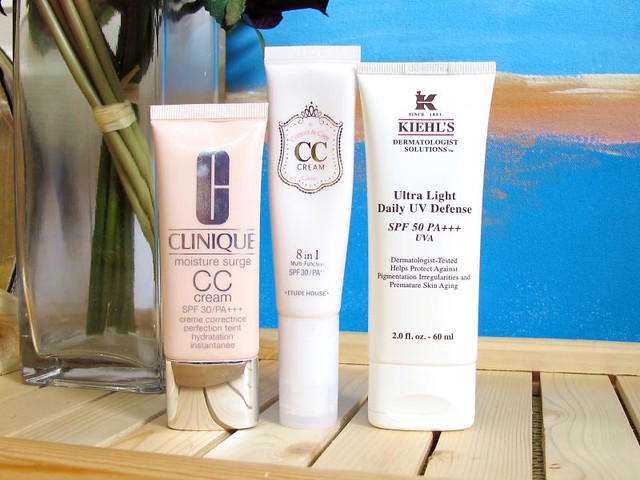
CC creams are excellent sunscreens because they're so sheer! Or you can use an ultra light sunblock like the one from Kiehl's
If your BB cream has SPF 50 then you can skip the sunscreen. But at SPF30 you won't be getting much, so just apply your usual skincare with SPF.
To maintain your protection from the harmful rays of the sun, either retouch your BB cream with a powder containing SPF every three hours, or re-apply the BB cream. The former is more convenient. :)
Smooth the BB cream equally all over your face using your hands. Personally I like the smear the BB cream in neat lines, to make sure that I am distributing the product evenly.
Shiseido Week: How to use the Perfect Foundation Brush
Seamless and well-blended makeup is the best kind. To achieve it, use a stiff, buffing brush that can work the product into your skin, diffusing the pigments in the formula until they look practically invisible. One brush that is made for exactly that kind of thing is the Shiseido Perfect Foundation Brush (P1,500). This is so famous that a lot of other Asian brands have copied it already!


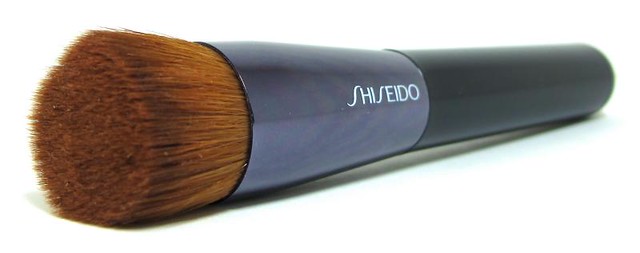
I've already done a full review of the brush, so this time I'll just be showing you a detailed step-by-step tutorial on how to use it and what you can use it with. It's a great brush not only for applying foundation and concealer, but for putting on liquid highlighter and blush as well. Let's get started!
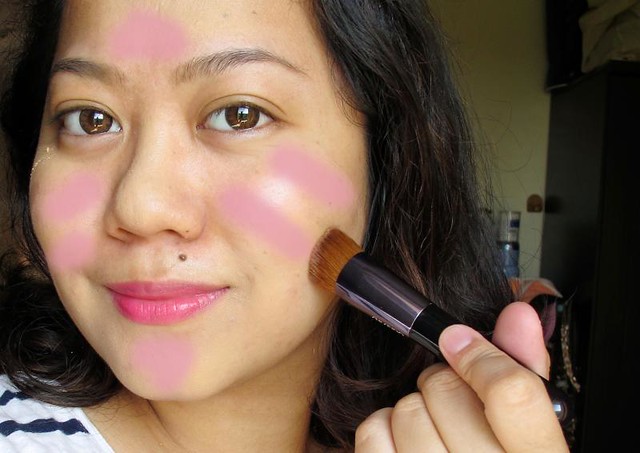
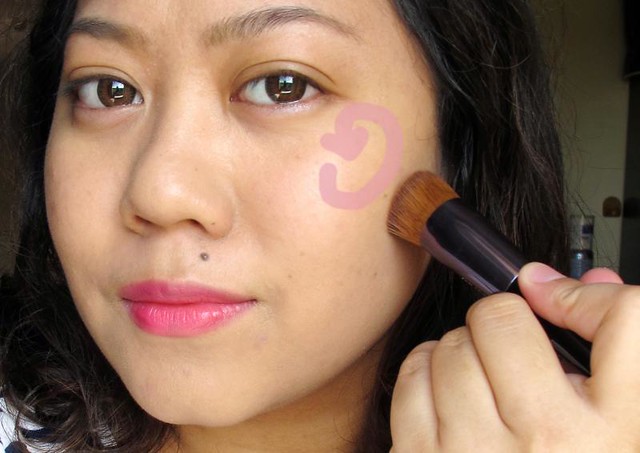
Step 1: Pick your favorite liquid, cream, or in this case, mousse foundation. Apply the foundation in streaks all over your face. Then, spread the product all over your face with the brush. You're just aiming for coverage at this point. Add more on your problem areas but keep it sheer where your good skin is.
How to contour the nose with an eyebrow pencil
Your nose - love it or hate it? I admit I've wished my nose was less round and large, but I've accepted it now. It's my nose. I have come to be affectionate towards it the way I would towards a ratty old pair of pajamas. I haven't really considered something drastic like rhinoplasty because, well, it doesn't honestly disturb me that much. I'm not the type of person whose positive image of herself can easily be ruined by something as minor as a wide nose.
But sometimes I just want to have more definition and height, y'know? Especially in photos where the flash or bright sunlight can wash out my features. I prefer to use a contour powder, but here's a handy trick I learned from YouTube: eyebrow pencils work pretty well too! I particularly like the Shiseido Natural Eyebrow Pencil in Deep Brown BR602 for nose contouring. It's the perfect matte brown shade, something that defines without looking weird and harsh!
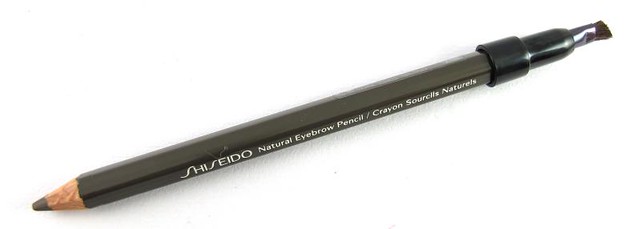
You can use other brow pencils if you wish, but yes if you already have the Shiseido pencil then this is a great way to repurpose it. So, here's a quick tutorial on how you can use an eyebrow pencil like this to define your nose. It's super easy!
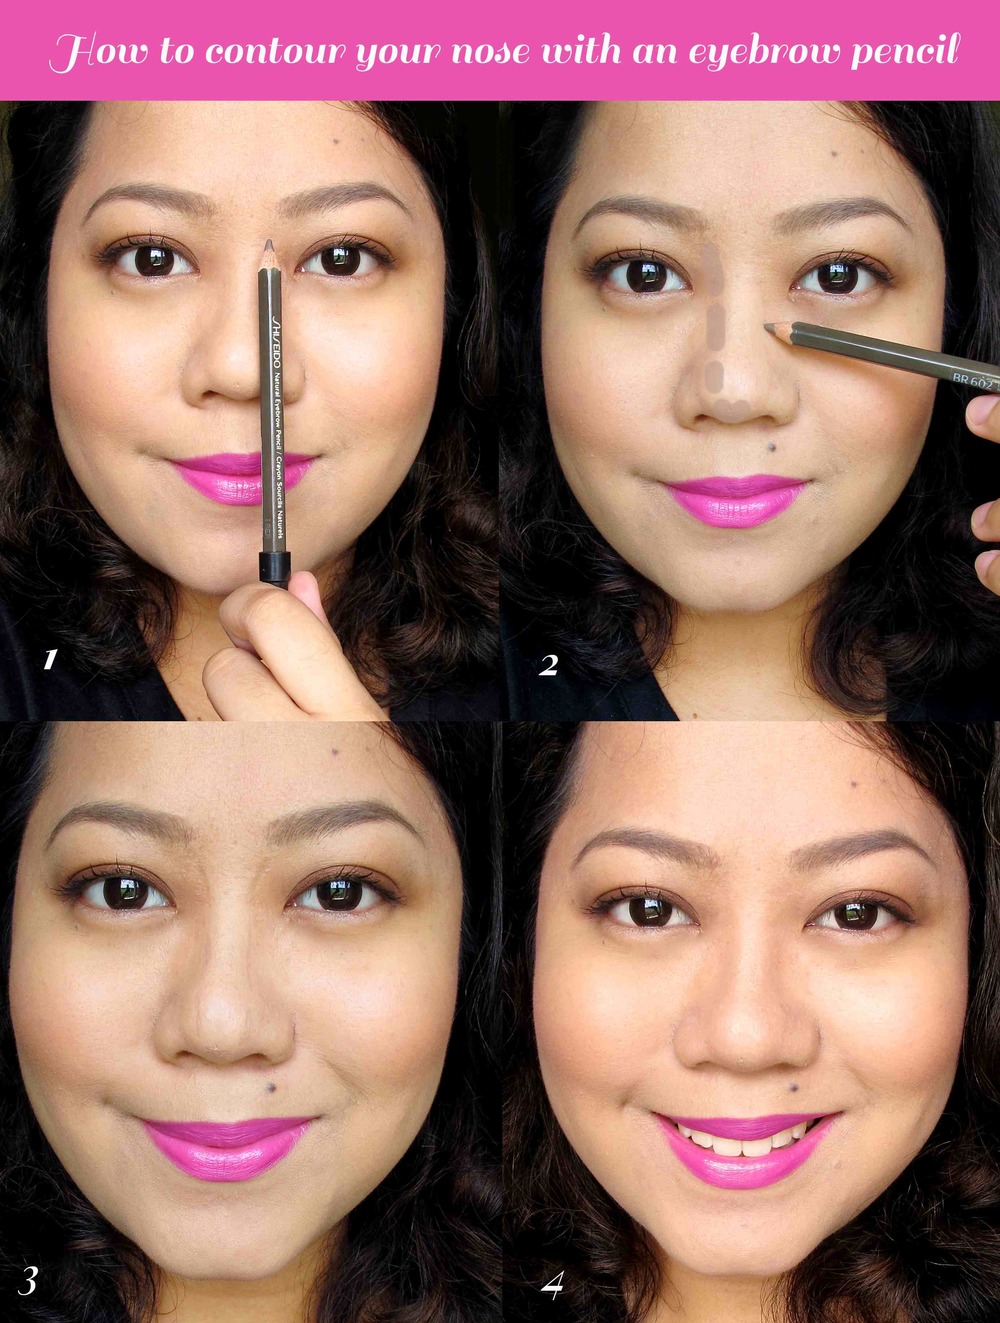
Step 1: Map out your ideal contouring areas. Your goal is to make your nose look slimmer and higher. To do so, shade along the sides of your nose. Use the tip of your nose and beginning of your brows as the reference point.
Reader question: How to conceal dark blemishes
Hi Miss Liz! I have a birthmark on the face and while I know that sometimes, confidence is the key, people looking all the time can get to you. And I want to try going birthmark free for the first time! How do I cover it? What do I buy? Heavy concealer? Heavy foundation? I'm pretty much willing to go until the MAC budget, but no high-ends such as Chanel, etc. Thank you! :) - Hannah
Hi Hannah! Thanks for your question. I know how debilitating it is to walk around with marks on the face. We want to tell ourselves that it shouldn't affect our self-esteem, but they still exist and people look at them. I've been struggling with blemishes most of my life. They're not quite the same thing as a birth mark, but the principle of concealing them should apply.
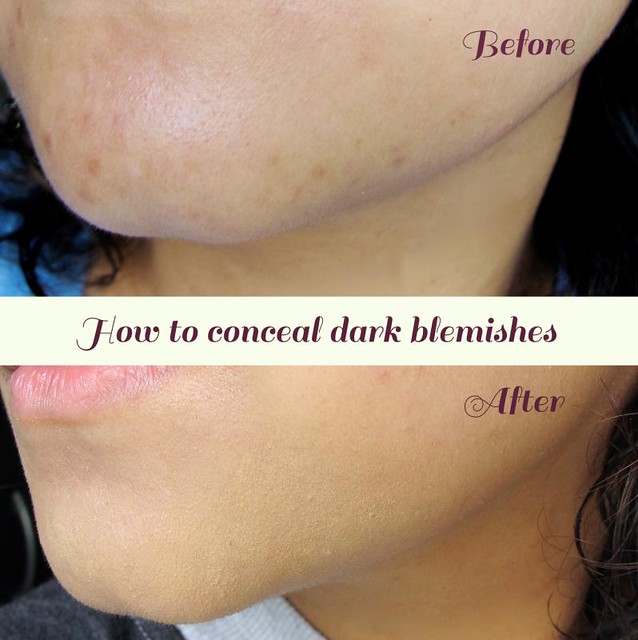
The trick is concealing only the problem spot/s instead of your whole face. The finished look would be more natural, showing more skin than makeup! You also have to be careful about the concealers you use. They should be able to stick for hours, even after a lot of oil and swear - maybe even water if you're out for a swim.
In this tutorial, I used a light foundation (actually, it's just a cc cream) as a base, applied a thick, opaque concealer to completely cover the blemishes, and then applied a thinner concealer to blend in the thick concealer. Then, I set the whole thing with powder to seal the makeup in place.
Tutorial: How to create strong yet flattering eyebrows
Why would anyone want to have strong, maybe even bushy-looking eyebrows? I think that would be your first question! In my opinion, full eyebrows look good on anyone at any age. It's not a handicap or just a trend, it really is flattering to have well-defined brows. Full eyebrows can make one look younger and the face, slightly smaller. They can even make your eyes look more expressive and alive!
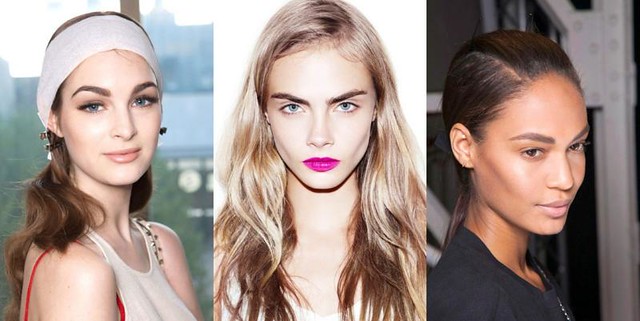
It's not difficult to do, too. All you need is a dark eyebrow pencil that matches your hair and a spoolie or brush to blend the color in properly. You can opt to use a gel or pen brow filler but it's less hassle to do it with a pencil if you ask me. ;)

The best pencil for this purpose is the Shiseido Natural Eyebrow Pencil in Deep Brown BR602. It's a shade that's perfect for us dark-haired girls, since it's not terribly pigmented while providing the right amount of coverage. It comes with a natural hair brush on the other end, as well! It's what I'm using for this tutorial.
Let's get cracking!
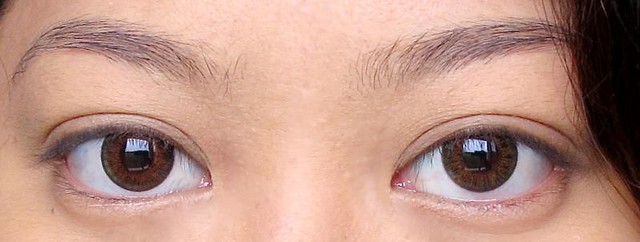
Step 1: Clean up your eyebrows. I highly recommend going to a brow salon if you're attempting this for the first time, but if you don't have the time nor the budget, you can at least do some basic cleaning.


