

Make your makeup last longer with this DIY setting spray
There are two things you need to know about me: I am a cheapskate, and I love to DIY. I’ve never used a store-bought brush cleaner before since my DIY version works quite well, and exfoliate with beauty scrubs I make in my own kitchen. As addicted as I am to beauty, I need to keep my purchases within budget. I've been wanting to try a makeup setting spray for a while now, so when I found this tip, I couldn't resist trying it out!
The most popular “formula” out there for a homemade setting spray is one that consists only of two ingredients: distilled water and glycerine.
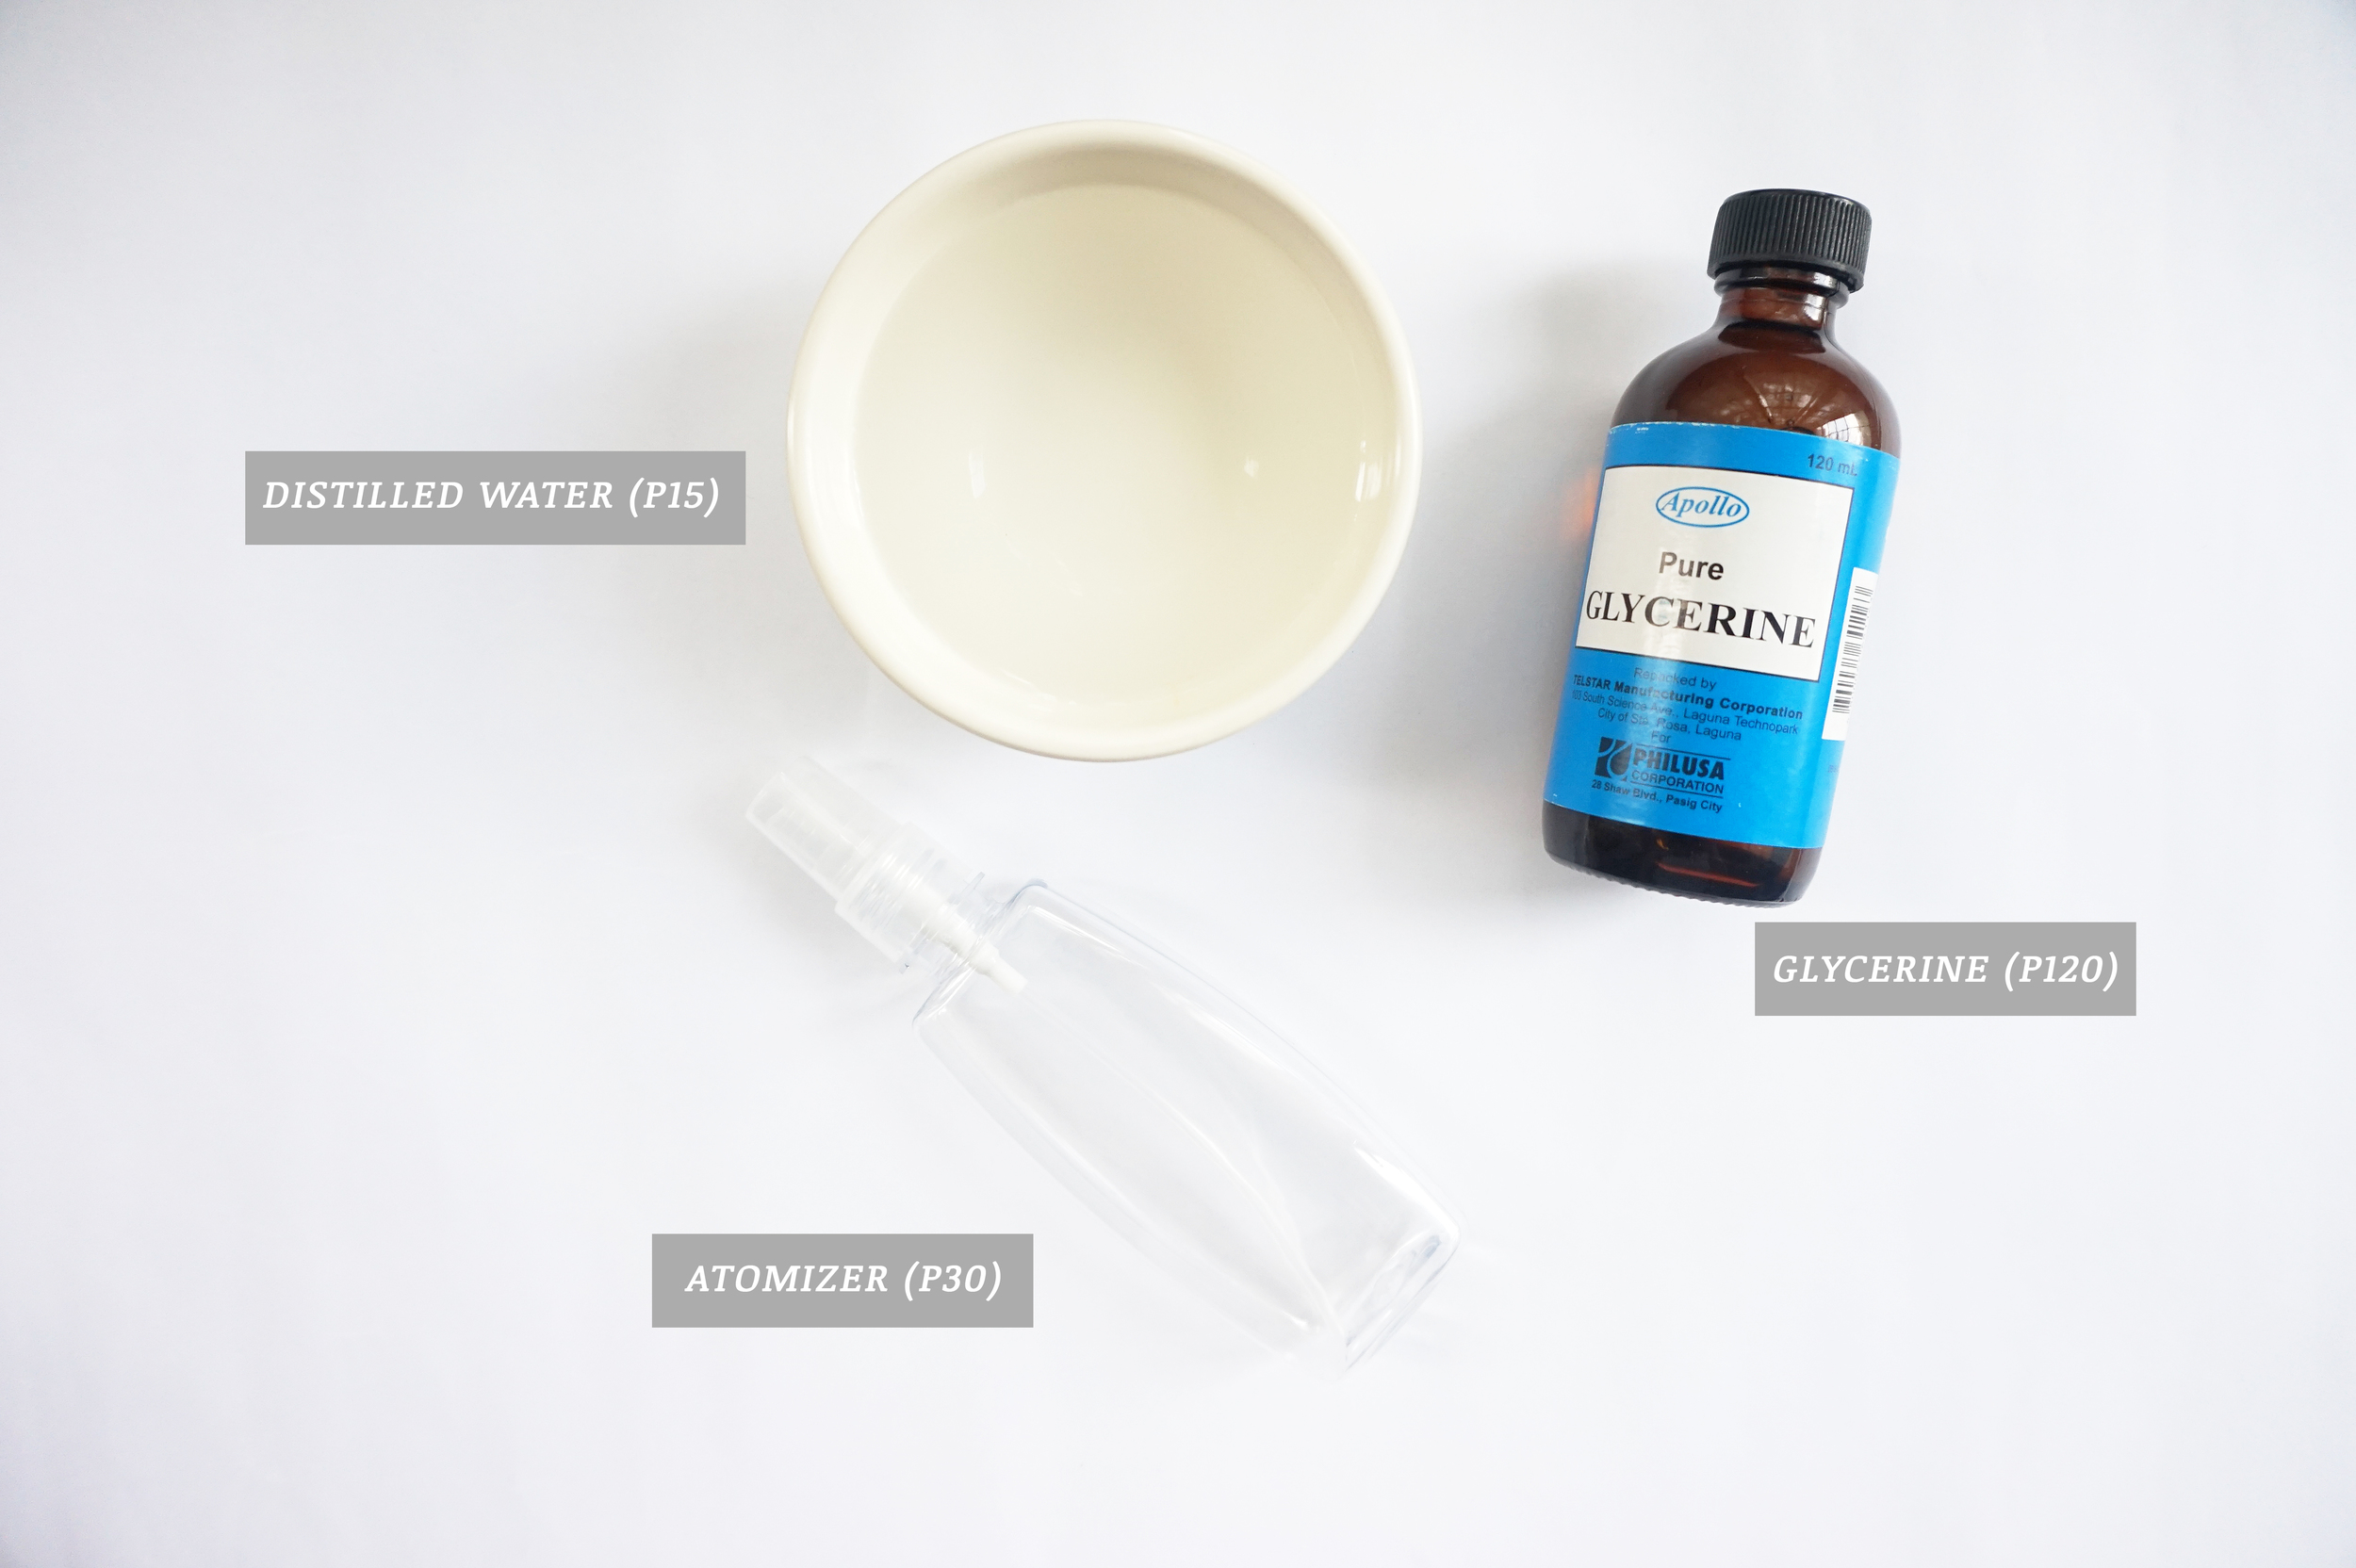
Distilled water is preferred because tap water might have contaminants. Glycerin, though, was something I never thought to search for in the past. Good thing I found it at Mercury Drug! The bigger branches that also carry non-medical items are the one most likely to stock on it. If you just want to test it out before committing to the bigger bottle like I did, the small one retails for just over P30.
You’ll also need an atomizer, of course. Make sure that the one you get sprays fine mists, so the product gets applied more evenly and absorbed more quickly. Check out the ones in Watsons or Beabi.
To make the spray, you just need to mix three parts water with one part glycerin. What I did was mix in one tablespoon of glycerin for every three tablespoons of water. It's best to make this in small batches as the fluid turns rancid after about two weeks. Storing it in the fridge also helps a bit in prolonging the spray’s shelf life, and feels delightfully refreshing on hot days.
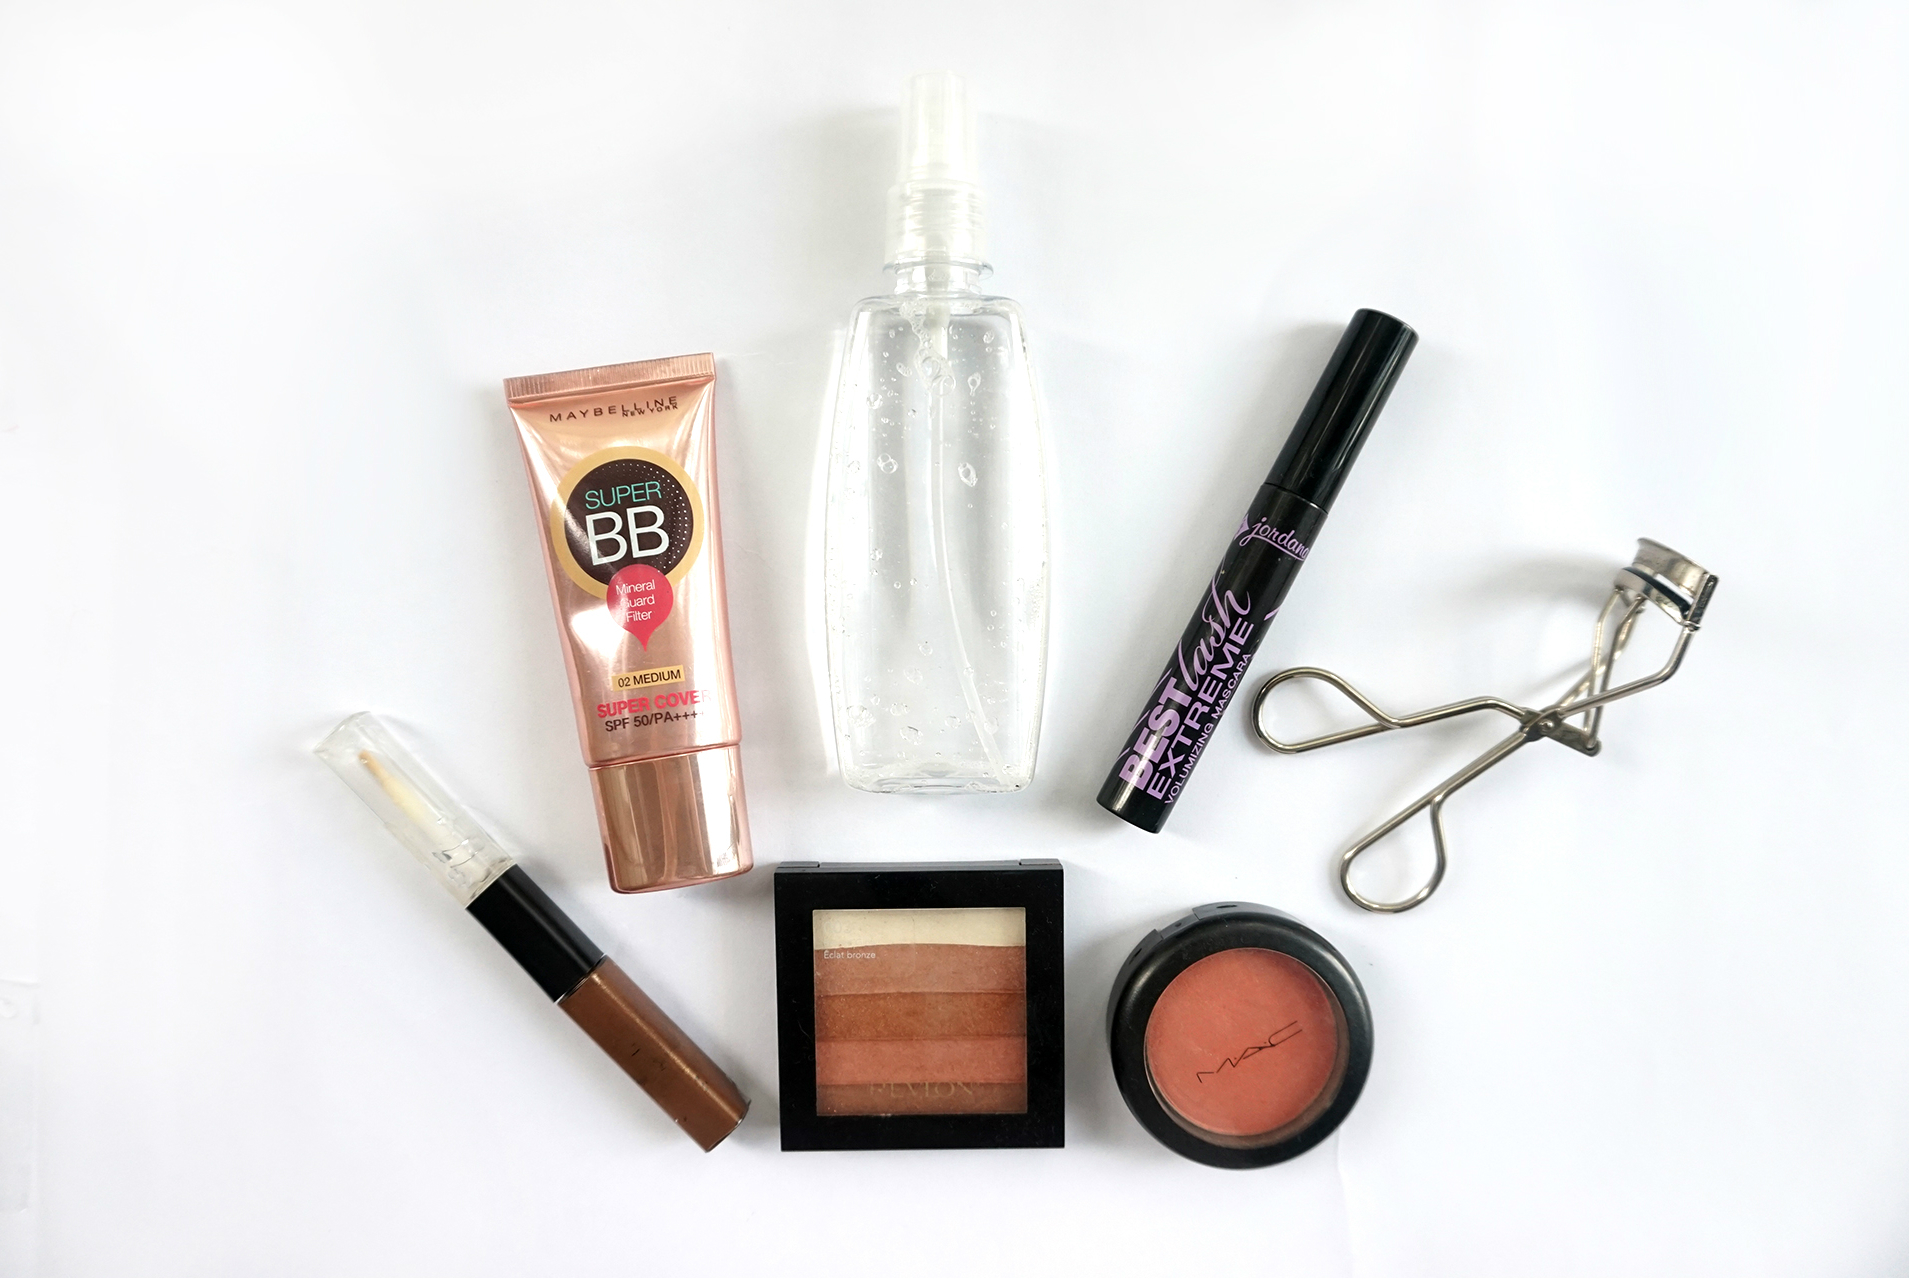
To test how well it would work, I decided to use it with a face base that typically lasts just a couple of hours on me. The Maybelline Super BB Cream lasts eight hours on Liz, but it fades pretty quick on my dry skin because I sweat a lot even when it's not too warm! So I wanted to know if this homemade spray could help my base last longer.
I put all my makeup on, and spritzed my solution a few times after I put on my base: the BB cream, blush, highlighter, and bronzer. You may also use it after you’ve applied all your products, but if you’re using a non-waterproof mascara, spray first to avoid getting raccoon eyes.
I sprayed from a distance of around six inches from my face and spritzed just enough to make my face slightly damp. The product doesn’t smell like anything and feels just like water. It takes a few seconds to settle on the skin though, so make sure to let it dry completely before touching your face.
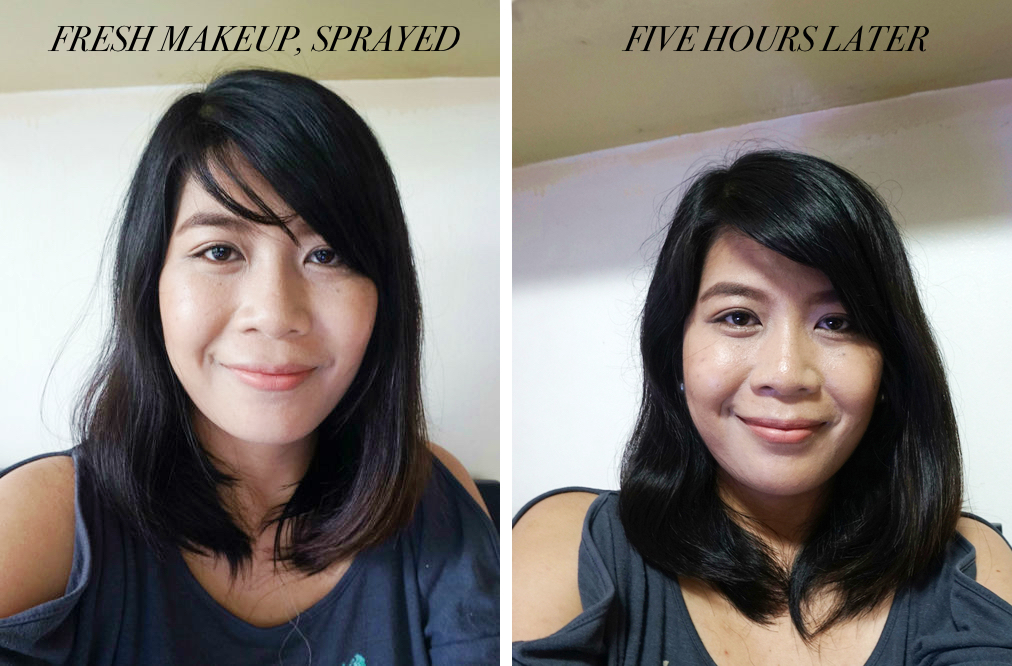
The photo on the left was taken right after I put my makeup on. I didn’t apply setting powder, just to see how well the spray would fare. The one on the right was taken five hours after I went out. I still have my base on, and my blush stayed intact! I also give it plus points for not breaking me out. I have acne-prone skin, but I didn’t wake up to pimples the day after I used this.
If you've been wanting to try a setting spray, this is an affordable option for those on a tight budget or don't want to drop big bucks on a product they aren't sure about. It saves money and it's fun to make as well.
Got any more DIY tips for me to try? Leave a comment below!